Best VPS for AI Projects in 2025: What to Loo
Artificial intelligence has become the center of nearly...


Deepseek’s models (deepseek-chat for V3 and deepseek-reasoner for R1) offer powerful AI-driven text generation, reasoning, and conversational capabilities. Integrate them into apps, automate workflows, or build AI agents – all via a RESTful API. Let’s dive in.
Related Post: UModelVerse Launches with Free Access to deepseek-ai/DeepSeek-R1.
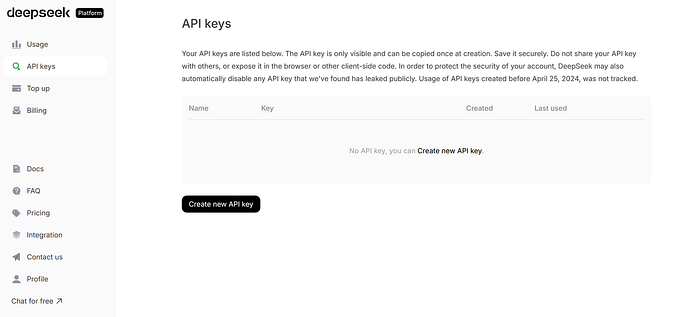
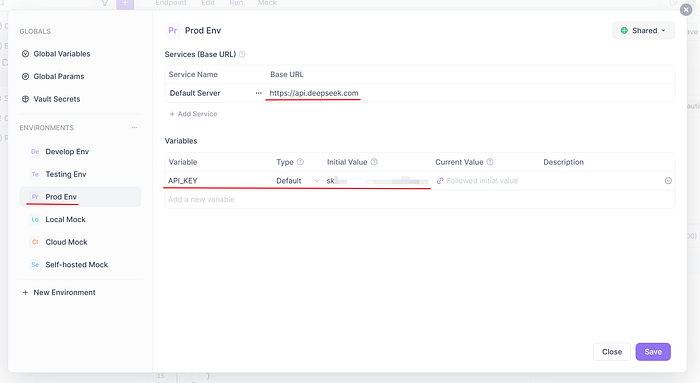
First, log in to the Deepseek Open Platform to obtain the API key.

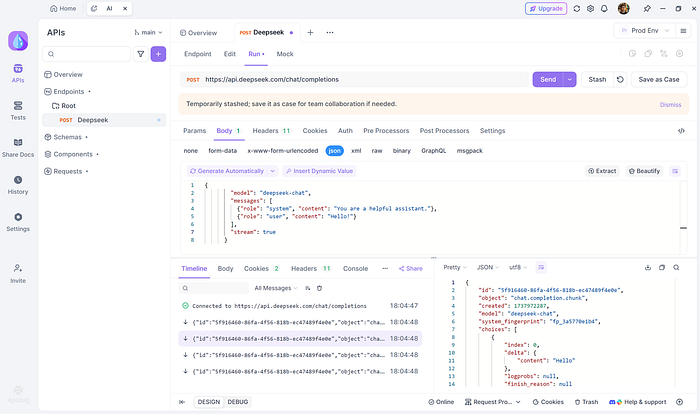
With your API key in hand, you’re ready to start making API calls. You can find the official Deepseek API documentation at: https://api-docs.deepseek.com/.
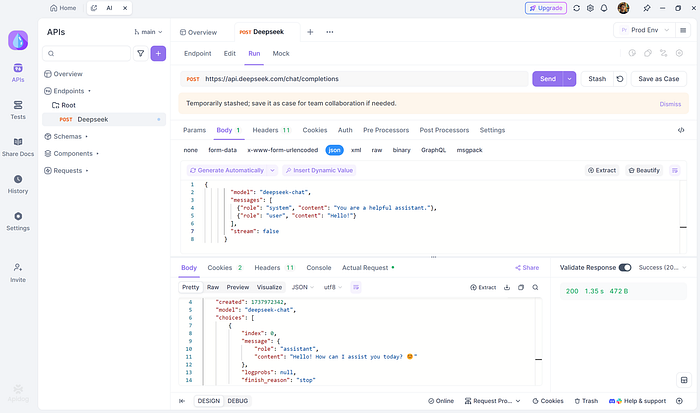
To test the API and view responses from the AI model, we will use Apidog.
Or output the entire response.
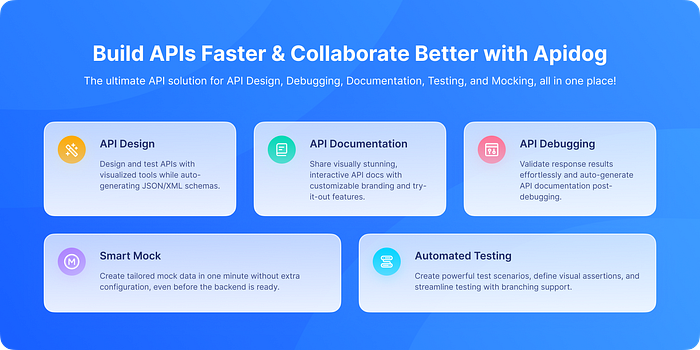
Why Use Apidog?
Apidog is a comprehensive tool that includes API documentation, debugging, design, testing, mock, and automated testing in one platform.


Now that you’ve successfully tested the API integration, let’s discuss key considerations for deploying Deepseek models in production environments:
1. Security Best Practices
• API Key Management: Never hardcode keys in repositories. Use environment variables (AWS Parameter Store, Google Secret Manager) or dedicated secret management tools
• Encryption: Ensure all API calls use HTTPS (enforced by default)
• Rate Limiting: Implement request throttling to avoid hitting API rate limits (documented in Deepseek’s API specs)
2. Scalability & Performance
• Async Processing: For high-volume applications, use asynchronous requests (Python asyncio, Node.js async/await)
• Caching: Cache frequent/identical queries using Redis or Memcached to reduce API costs
• Retry Logic: Implement exponential backoff for failed requests (especially important for streaming responses)
3. Error Handling
# Example Python error handling
try:
    response = requests.post(
        "https://api.deepseek.com/v1/chat/completions",
        headers={"Authorization": f"Bearer {os.getenv('DEEPSEEK_API_KEY')}"},
        json=payload,
        timeout=10
    )
    response.raise_for_status()
except requests.exceptions.HTTPError as err:
    # Handle specific error codes from Deepseek API
    if err.response.status_code == 429:
        implement_retry_logic()
    else:
        logging.error(f"API request failed: {err}")
4. Monitoring & Analytics
• Track API latency and success rates (Prometheus/Grafana)
• Monitor token usage/costs via Deepseek’s dashboard
• Implement user feedback mechanisms to evaluate response quality
5. Deployment Workflow
6. Cost Optimization
• Use stream: true for real-time interactions to reduce perceived latency
• Set hard limits on max_tokens parameter
• Implement usage quotas per user/client
7. Compliance
• Review Deepseek’s data processing agreement
• Implement user consent mechanisms if storing conversations
• Add content moderation layers for sensitive applications
Example Production Deployment
For a Python web service using FastAPI:
from fastapi import FastAPI, HTTPException
import os
import httpx

app = FastAPI()
DEEPSEEK_URL = "https://api.deepseek.com/v1/chat/completions"
async def deepseek_query(prompt: str):
    async with httpx.AsyncClient(timeout=30) as client:
        try:
            response = await client.post(
                DEEPSEEK_URL,
                headers={"Authorization": f"Bearer {os.getenv('DEEPSEEK_API_KEY')}"},
                json={
                    "model": "deepseek-chat",
                    "messages": [{"role": "user", "content": prompt}],
                    "stream": False
                }
            )
            return response.json()["choices"][0]["message"]["content"]
        except (KeyError, httpx.RequestError) as e:
            # Implement fallback strategy here
            raise HTTPException(status_code=503, detail="Service unavailable")
Final Testing Before Go-Live
Post-Deployment Monitoring
• Set up alerts for:
By following these deployment practices, you’ll create robust, scalable implementations of Deepseek’s AI capabilities. For advanced configurations, refer to Deepseek’s official API documentation and consult their enterprise support team for high-volume use cases.
Reposted from: https://sebastian-petrus.medium.com/deepseek-api-r1-v3-guide-7be11be4be9a.


