DeepSeek V3-0324: Catching Up to Sonnet 3.7 i
In a recent benchmark test, DeepSeek V3-0324 has shown ...


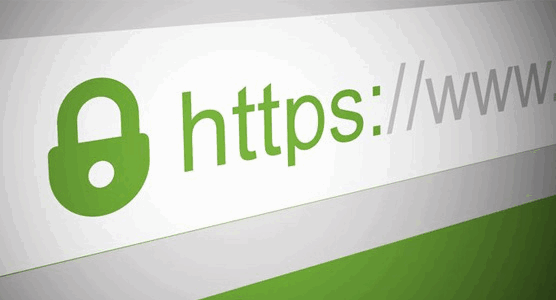
Securing your website with HTTPS is essential for protecting user data, improving search engine rankings, and building trust. Using free SSL certificates makes the process cost-effective and accessible for all. This guide will walk you through the steps to enable HTTPS without any additional costs.
Get Started: USSL - Default (surfercloud.com)
Before starting, let’s understand the key benefits of HTTPS:
The first step is to obtain a free SSL certificate. Popular options include:
The installation process varies depending on your hosting environment:
sudo certbot --apache Replace --apache with --nginx if you’re using an Nginx server.Once the SSL certificate is installed, configure your website to fully support HTTPS:
RewriteEngine On RewriteCond %{HTTPS} !=on RewriteRule ^/?(.*) https://%{SERVER_NAME}/$1 [R,L]After completing the configuration, test your HTTPS implementation using online tools like SSL Labs’ SSL Test. This will check the validity of your SSL certificate and ensure that your server is properly configured.
Free SSL certificates often have shorter validity periods (e.g., 90 days). Use automation tools like Certbot to ensure your certificate renews without manual intervention.
While free SSL certificates are a great start, businesses with higher security requirements may prefer premium SSL certificates with advanced features like extended validation (EV) or wildcard support. SurferCloud’s USSL offers highly secure and customizable SSL solutions to meet diverse needs. Whether you’re running an e-commerce store or handling sensitive data, USSL ensures maximum protection and reliability.
Visit SurferCloud USSL to explore the options. More: SurferCloud SSL Certificates (USSL): Your Comprehensive Guide to Secure Your Websites.


