SurferCloud Blog SurferCloud Blog
  • HOME
  • NEWS
    • Latest Events
    • Product Updates
    • Service announcement
  • TUTORIAL
  • COMPARISONS
  • INDUSTRY INFORMATION
  • Telegram Group
  • Affiliates
SurferCloud Blog SurferCloud Blog
  • HOME
  • NEWS
    • Latest Events
    • Product Updates
    • Service announcement
  • TUTORIAL
  • COMPARISONS
  • INDUSTRY INFORMATION
  • Telegram Group
  • Affiliates
  • banner shape
  • banner shape
  • banner shape
  • banner shape
  • plus icon
  • plus icon

Complete Guide to Self-Hosting Nextcloud on Debian

December 26, 2025
5 minutes
INDUSTRY INFORMATION
11 Views

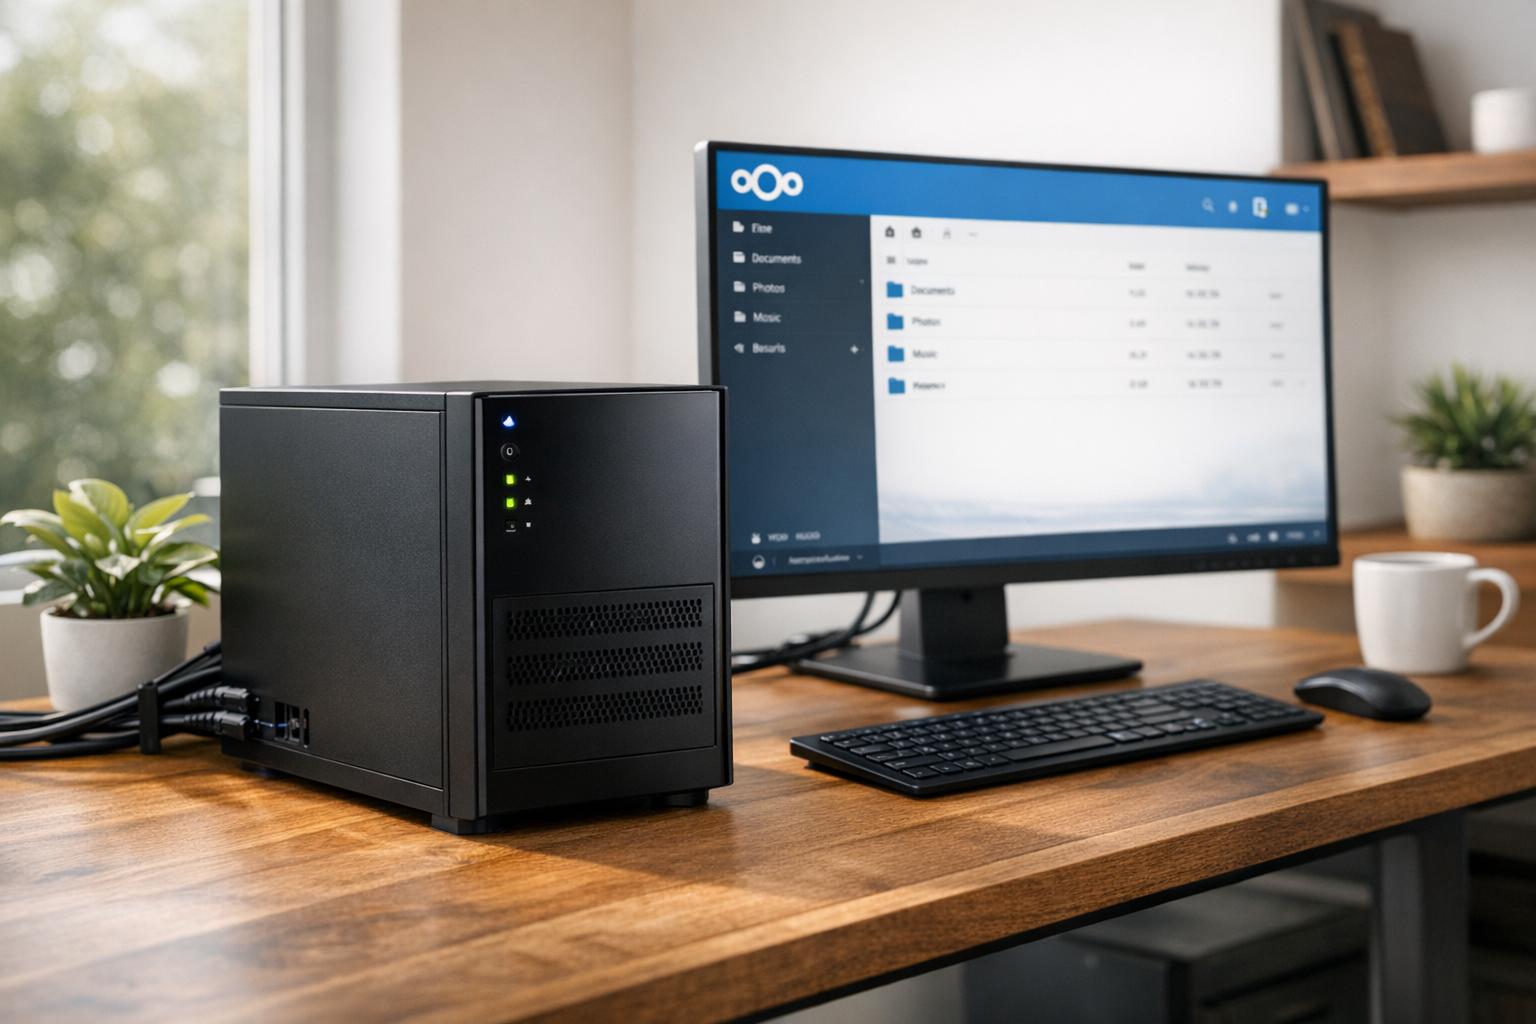
As organizations and individuals increasingly prioritize data privacy, control, and scalability, many are exploring self-hosting solutions for their cloud storage needs. Among the leading platforms in this space is NextCloud, an open-source application that transforms your server into a powerful, secure, and fully customizable cloud environment. Whether you’re a small business owner striving to enhance operational efficiency or a developer seeking more control over your infrastructure, this guide will walk you through the process of deploying your very own NextCloud server from scratch using Debian 13.

This tutorial is not a one-click method but a detailed, hands-on experience designed to help you understand the mechanics of building a scalable and secure cloud server. By following this guide, you will not only create a functional server but also gain valuable insights into Linux-based server management.

Why Choose NextCloud?

NextCloud

Before diving into the technical steps, it's essential to understand why NextCloud is such a compelling choice for self-hosting.

Key Features of NextCloud:

  • Centralized management of files, calendars, emails, and documents.
  • Extensive support for third-party apps, allowing custom functionalities.
  • Enhanced security with built-in encryption and compliance with GDPR.
  • Cost-effective scalability - ideal for startups, SMEs, and enterprises.
  • Freedom from vendor lock-in, complete control over your data.

For this tutorial, we’ll be using Debian 13, a robust and reliable Linux distribution ideal for server environments.

sbb-itb-55b6316

Getting Started: Prerequisites

Before you begin setting up your server, ensure you have the following:

  1. A Linux Server: This could be a physical server, a virtual machine, or a cloud instance. For this guide, we use a cloud instance provided by Linode, but any cloud provider will suffice.
  2. Domain Name: While optional, a domain name significantly simplifies access and configuration.
  3. Randomly Generated Passwords: You’ll need strong passwords for root, database users, and your NextCloud account.
  4. Basic Technical Knowledge: Familiarity with the Linux command line is beneficial.

Step-by-Step Guide to Self-Hosting NextCloud

Step 1: Setting Up Your Linux Server

  1. Launch a Debian Instance:
    • Choose a server geographically close to your target users for better latency. In this example, we selected a Linode instance based in Atlanta, Georgia.
  2. Assign a Domain Name:
    • Create an A record in your DNS provider to point your domain/subdomain to your server's IP address.
  3. Perform Basic Server Setup:
    • Update your server: sudo apt update && sudo apt upgrade.
    • Create a non-root user with sudo privileges for security purposes.
    • Set the hostname to your fully qualified domain name (FQDN).

Step 2: Installing the Required Software Stack

Install MariaDB (Database Server)

MariaDB is the preferred database for NextCloud due to its reliability and open-source nature.

  1. Install MariaDB: sudo apt install mariadb-server mariadb-client.
  2. Secure the installation with: sudo mysql_secure_installation.
    • Set a root password.
    • Disable remote root login and remove the test database.
  3. Create a database and user for NextCloud:
    CREATE DATABASE nextcloud; CREATE USER 'nextcloud'@'localhost' IDENTIFIED BY 'your_password'; GRANT ALL PRIVILEGES ON nextcloud.* TO 'nextcloud'@'localhost'; FLUSH PRIVILEGES; 

Install Apache (Web Server)

Apache is a widely-used web server that's compatible with NextCloud.

  1. Install Apache and PHP modules:
    sudo apt install apache2 php libapache2-mod-php php-mysql php-curl php-json php-mbstring php-intl php-imagick php-xml php-zip 
  2. Enable required modules:
    sudo a2enmod dir env headers mime rewrite ssl 

Configure PHP for NextCloud

Edit the PHP configuration file (/etc/php/8.4/apache2/php.ini) to optimize for NextCloud:

  • memory_limit = 512M
  • upload_max_filesize = 200M
  • post_max_size = 200M
  • max_execution_time = 360
  • Set the timezone to your region, e.g., date.timezone = America/New_York.

Step 3: Downloading and Configuring NextCloud

  1. Download NextCloud:
    wget https://download.nextcloud.com/server/releases/latest.zip unzip latest.zip 
  2. Move Files to the Web Directory:
    sudo mv nextcloud /var/www/ 
  3. Set Ownership and Permissions:
    sudo chown -R www-data:www-data /var/www/nextcloud sudo chmod -R 750 /var/www/nextcloud 

Step 4: Configuring Apache for NextCloud

  1. Create an Apache configuration file (/etc/apache2/sites-available/nextcloud.conf):
    <VirtualHost *:80>     ServerName yourdomain.com     DocumentRoot /var/www/nextcloud     <Directory /var/www/nextcloud/>         Require all granted         AllowOverride All     </Directory> </VirtualHost> 
  2. Enable the site and reload Apache:
    sudo a2ensite nextcloud.conf sudo systemctl reload apache2 

Step 5: Finalizing the Installation

  1. Visit your domain (http://yourdomain.com) to access the NextCloud setup wizard.
  2. Enter an admin username and password.
  3. Provide the database details created earlier.
  4. Complete the setup and install recommended apps.

Optional Enhancements

  • Enable HTTPS with Let’s Encrypt:
    sudo apt install certbot python3-certbot-apache sudo certbot --apache -d yourdomain.com 
  • Enable Redis for Performance: Install and configure Redis to handle file locking for NextCloud.

Key Takeaways

  • Building NextCloud from Scratch: This guide breaks down the process of self-hosting NextCloud, offering an in-depth, step-by-step approach.
  • Benefits of Self-Hosting:
    • Full control over your data.
    • Enhanced privacy and compliance with security standards.
    • Scalability to meet growing demands.
  • Critical Setup Steps:
    • Properly configure MariaDB, Apache, and PHP to support NextCloud.
    • Secure your server with HTTPS and optimize performance with Redis.
  • Customizable Features: NextCloud allows for extensive customization via apps and integrations, making it ideal for businesses and tech enthusiasts alike.

Conclusion

Setting up NextCloud on Debian 13 empowers you with a secure, private, and cost-effective cloud solution tailored to your exact needs. While it requires some initial effort to configure, the long-term benefits - data sovereignty, scalability, and the ability to integrate with your existing workflows - make it a worthwhile investment.

Whether you’re a developer seeking deeper technical control or an IT manager looking for a scalable solution, NextCloud offers a flexible framework that grows with your needs. Start experimenting, explore its features, and enjoy the freedom of owning your cloud.

Source: "Self-Host Nextcloud on Debian: The Ultimate Step-by-Step Build Guide" - Learn Linux TV, YouTube, Nov 24, 2025 - https://www.youtube.com/watch?v=TGsGalCOl2k

Related Blog Posts

  • Cloud Cost Calculator for Smart Budgeting

Related Post

5 minutes INDUSTRY INFORMATION

The Future of Web3.0: The Decentralized Inter

What Is Web3.0? Web3.0—also known as the Decentral...

4 minutes INDUSTRY INFORMATION

How to Build a VPN Using SurferCloud’s Clou

In 2025, privacy matters more than ever. With increasin...

3 minutes COMPARISONS

Best Free Forex VPS Services in 2025: A Compl

When it comes to Forex trading, having a reliable and f...

Leave a Comment Cancel reply

Light Server promotion:

ulhost

Cloud Server promotion:

Affordable CDN

ucdn

2025 Special Offers

annual vps

Copyright © 2024 SurferCloud All Rights Reserved. Terms of Service. Sitemap.