Beyond the Hyperscale: Why 2026 is the Year o
The Illusion of Choice in the Hyperscale Era For the...


The moment you deploy a new VPS and it receives a public IPv4 address, it becomes a target. Automated bots and malicious scripts scan the internet 24/7, looking for default settings and open ports to exploit. Whether you are running a simple personal blog or a business-critical application on your SurferCloud ULightHost, security cannot be an afterthought.
While SurferCloud provides a highly secure infrastructure at the data center level, the "inner security" of your operating system is your responsibility. In this guide, we’ll walk through five essential steps to harden your server against 99% of common automated attacks.
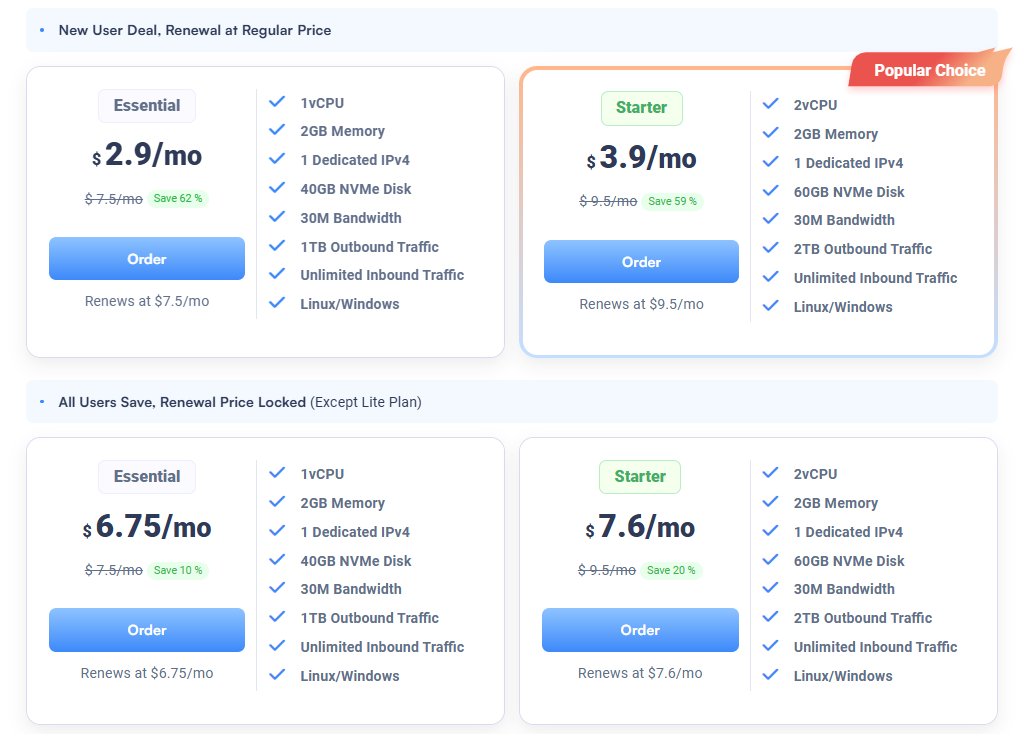
Get your secure server foundation for $2.9/mo:https://www.surfercloud.com/promos/ulighthost
Passwords, no matter how complex, are vulnerable to brute-force attacks. In 2026, the industry standard is SSH key-based authentication.
An SSH key pair consists of a public key (on the server) and a private key (on your local computer). Without your physical private key file, no one can log in—even if they guess your password.
ssh-keygen -t ed25519/etc/ssh/sshd_config and setting PasswordAuthentication no.By default, SSH listens on Port 22. This is the first door every bot tries to kick down. Changing this to a non-standard port (e.g., 2222 or 49152) will instantly stop thousands of "noise" attacks from showing up in your logs.
A server should only expose the services it absolutely needs. If you are only hosting a website, you only need ports 80 (HTTP), 443 (HTTPS), and your custom SSH port open.
On Linux, use UFW (Uncomplicated Firewall) for simplicity:
sudo ufw default deny incomingsudo ufw allow 443/tcpsudo ufw enableSurferCloud’s Control Panel also allows you to set up hardware-level firewalls (Security Groups). This is even more powerful as it drops malicious traffic before it even reaches your server's CPU.
Even with a custom port, some persistent bots might find you. Fail2Ban is a service that monitors your server logs for suspicious patterns (like too many failed login attempts) and automatically bans those IP addresses at the firewall level.
It’s like having a digital security guard that notices someone trying your doorknob and immediately calls the police to escort them away.
sudo apt install fail2banIn 2025 and 2026, many high-profile breaches were caused by "N-day" vulnerabilities—bugs that were already patched, but server admins forgot to run the update.
Keep your ULightHost instance patched with one command: sudo apt update && sudo apt upgrade -y
For even better security, enable Unattended Upgrades to let your Linux system install critical security patches automatically overnight.
By following these five steps, you transform your SurferCloud ULightHost from a vulnerable target into a hardened digital fortress. With the speed of NVMe storage and the global reach of SurferCloud's nodes, your server will not only be fast but also exceptionally safe.
Start building your secure project today: ? Claim your $2.9/mo ULightHost Offer


