
Instance Management
Enable Database Proxy
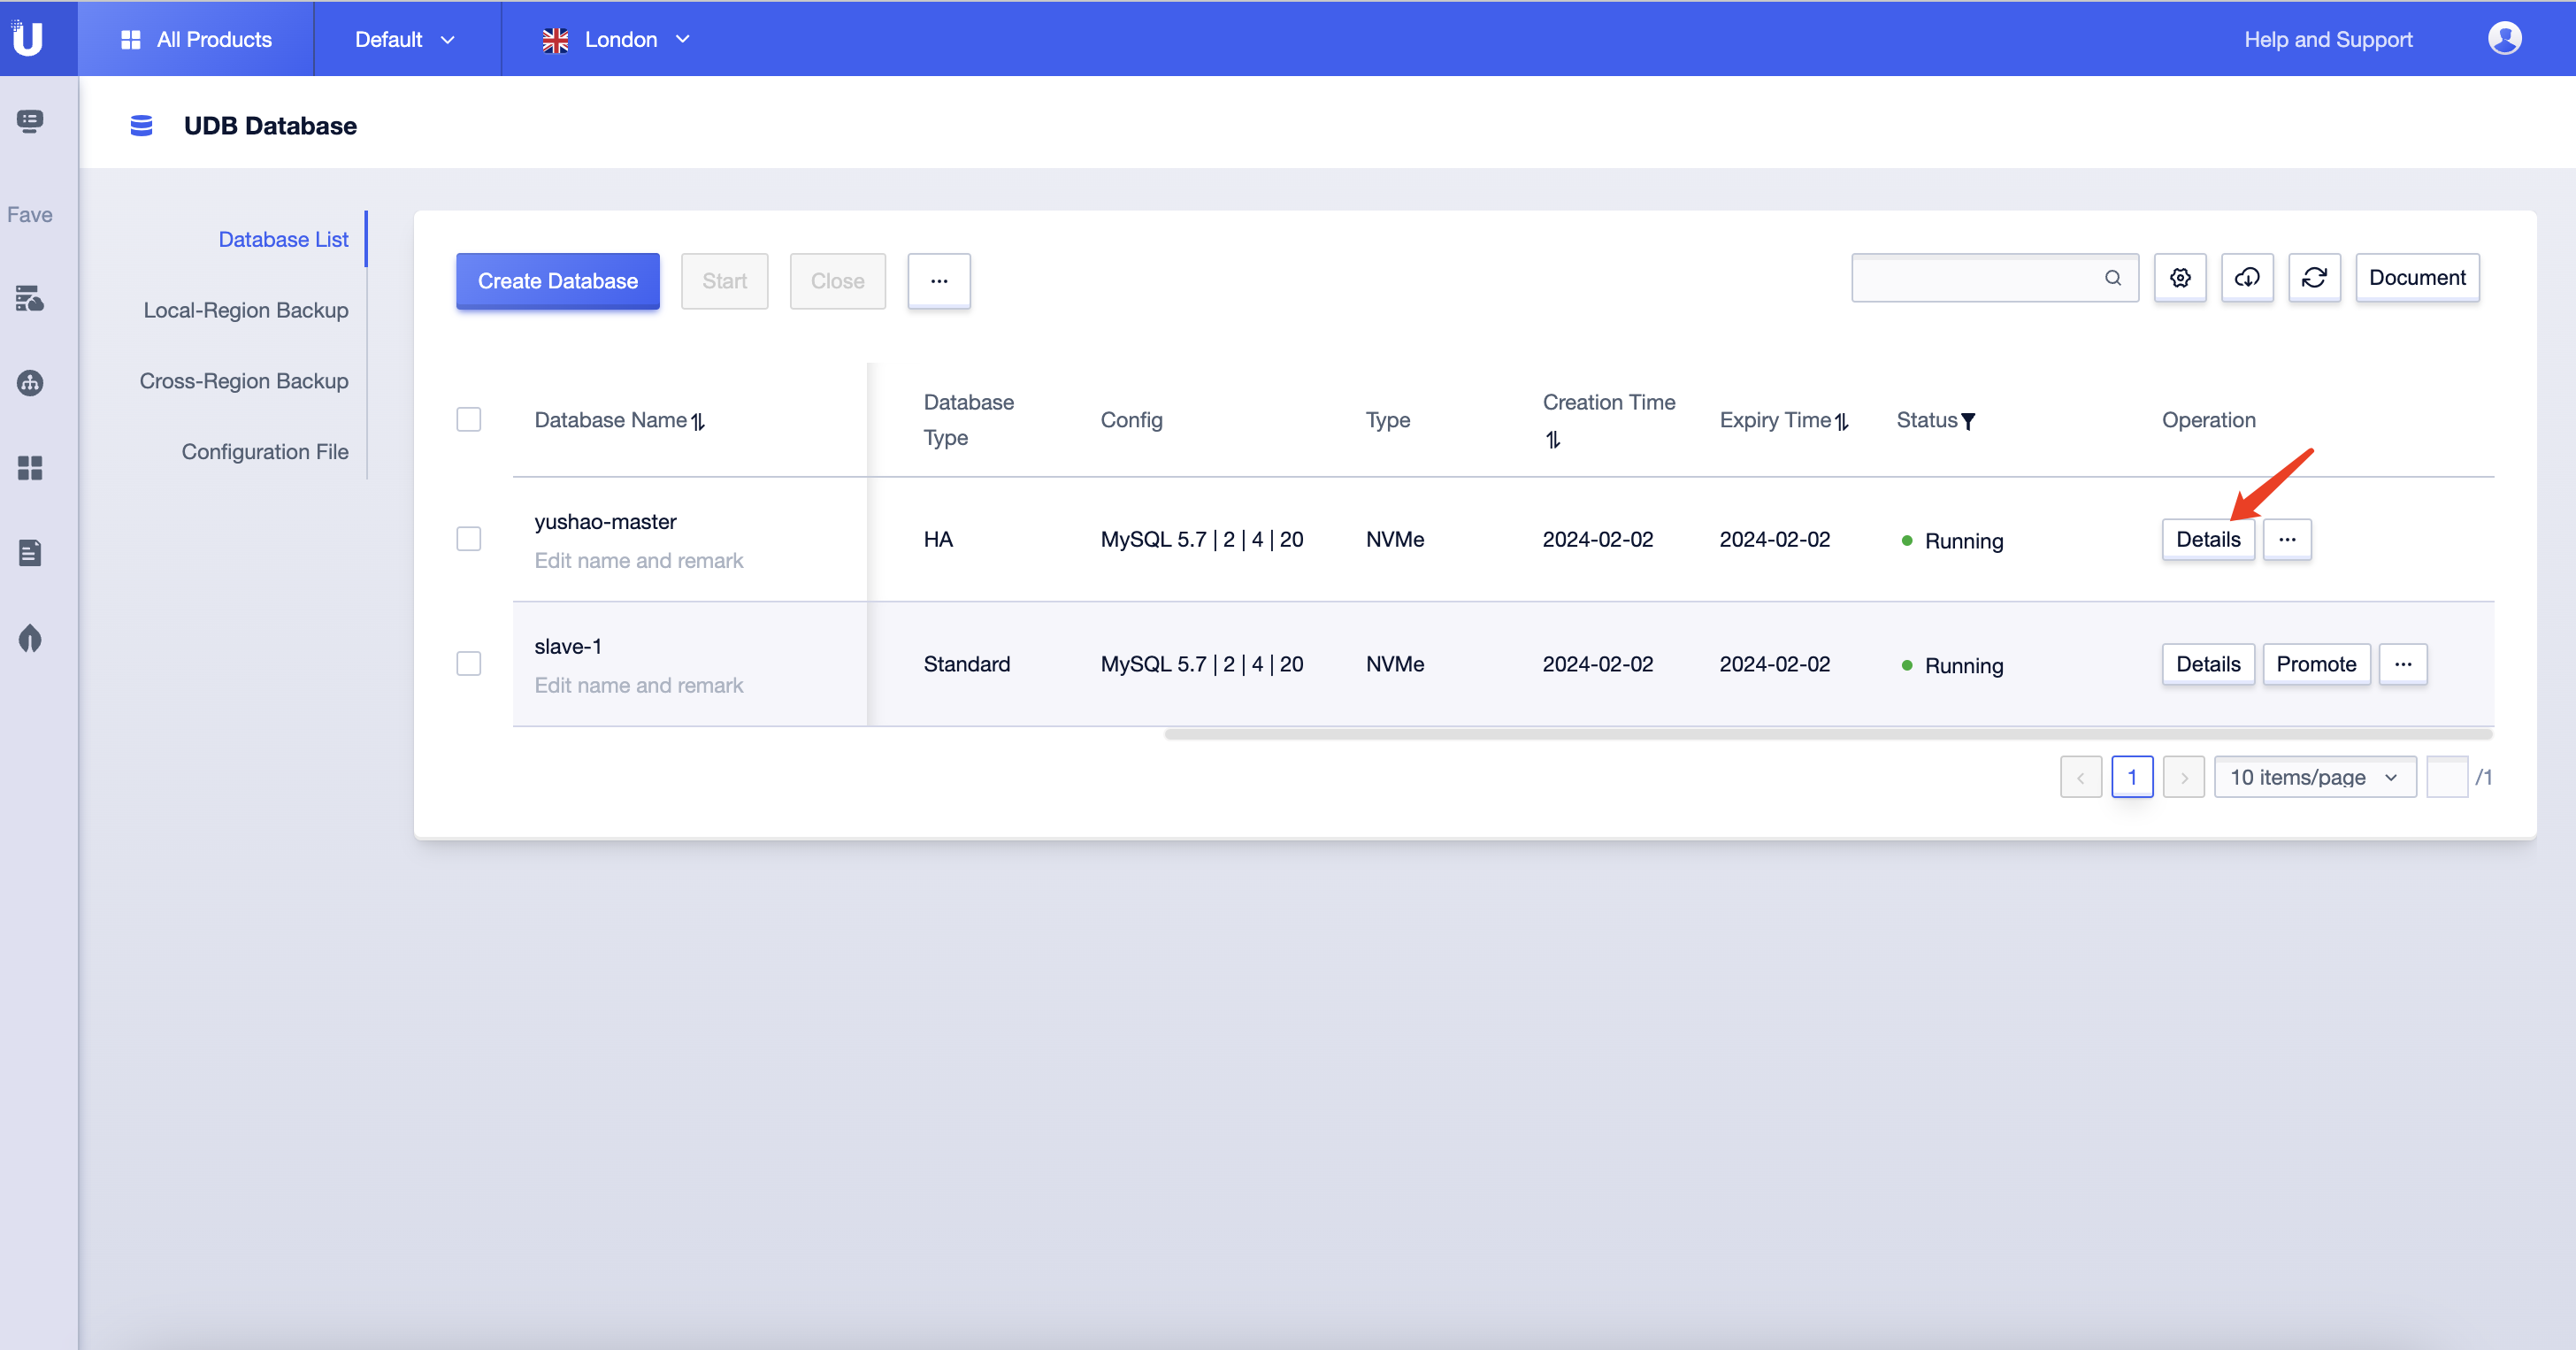
After creating the UDB instance in the Surfercloud console, click on 'Instance Details' to access the secondary page.
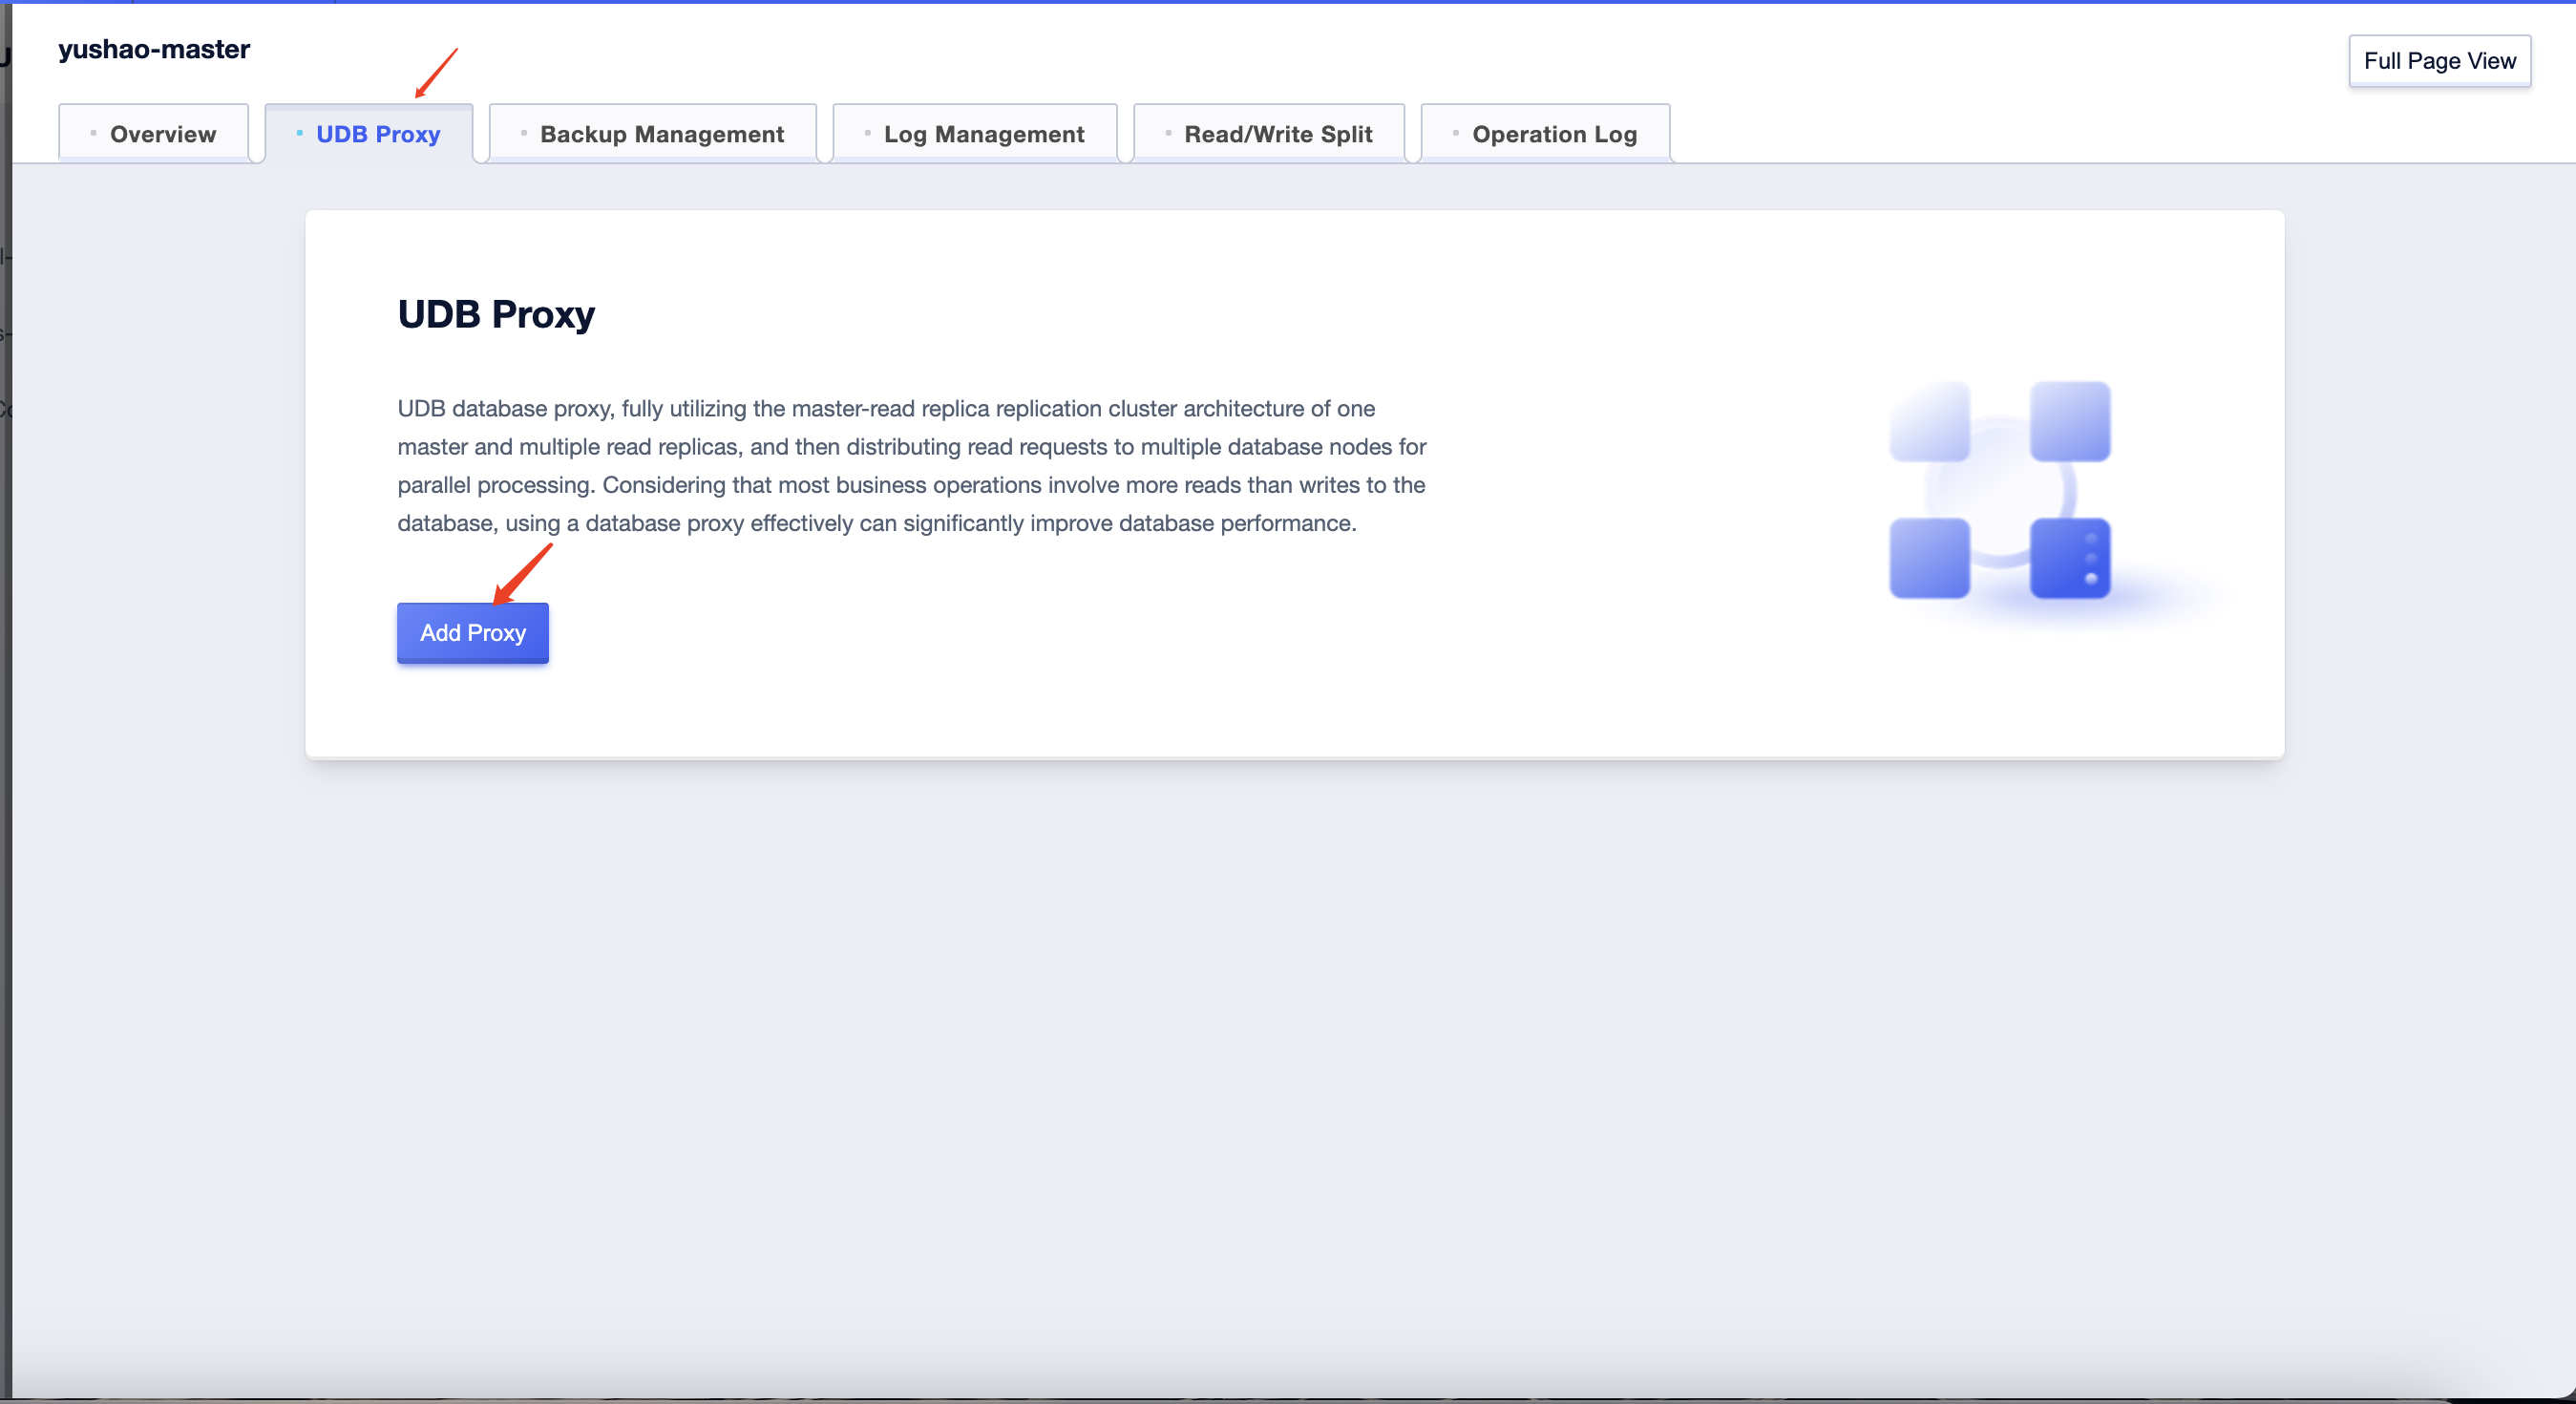
Click on the 'Database Proxy' tab, and you will see the 'Activate Now' button.
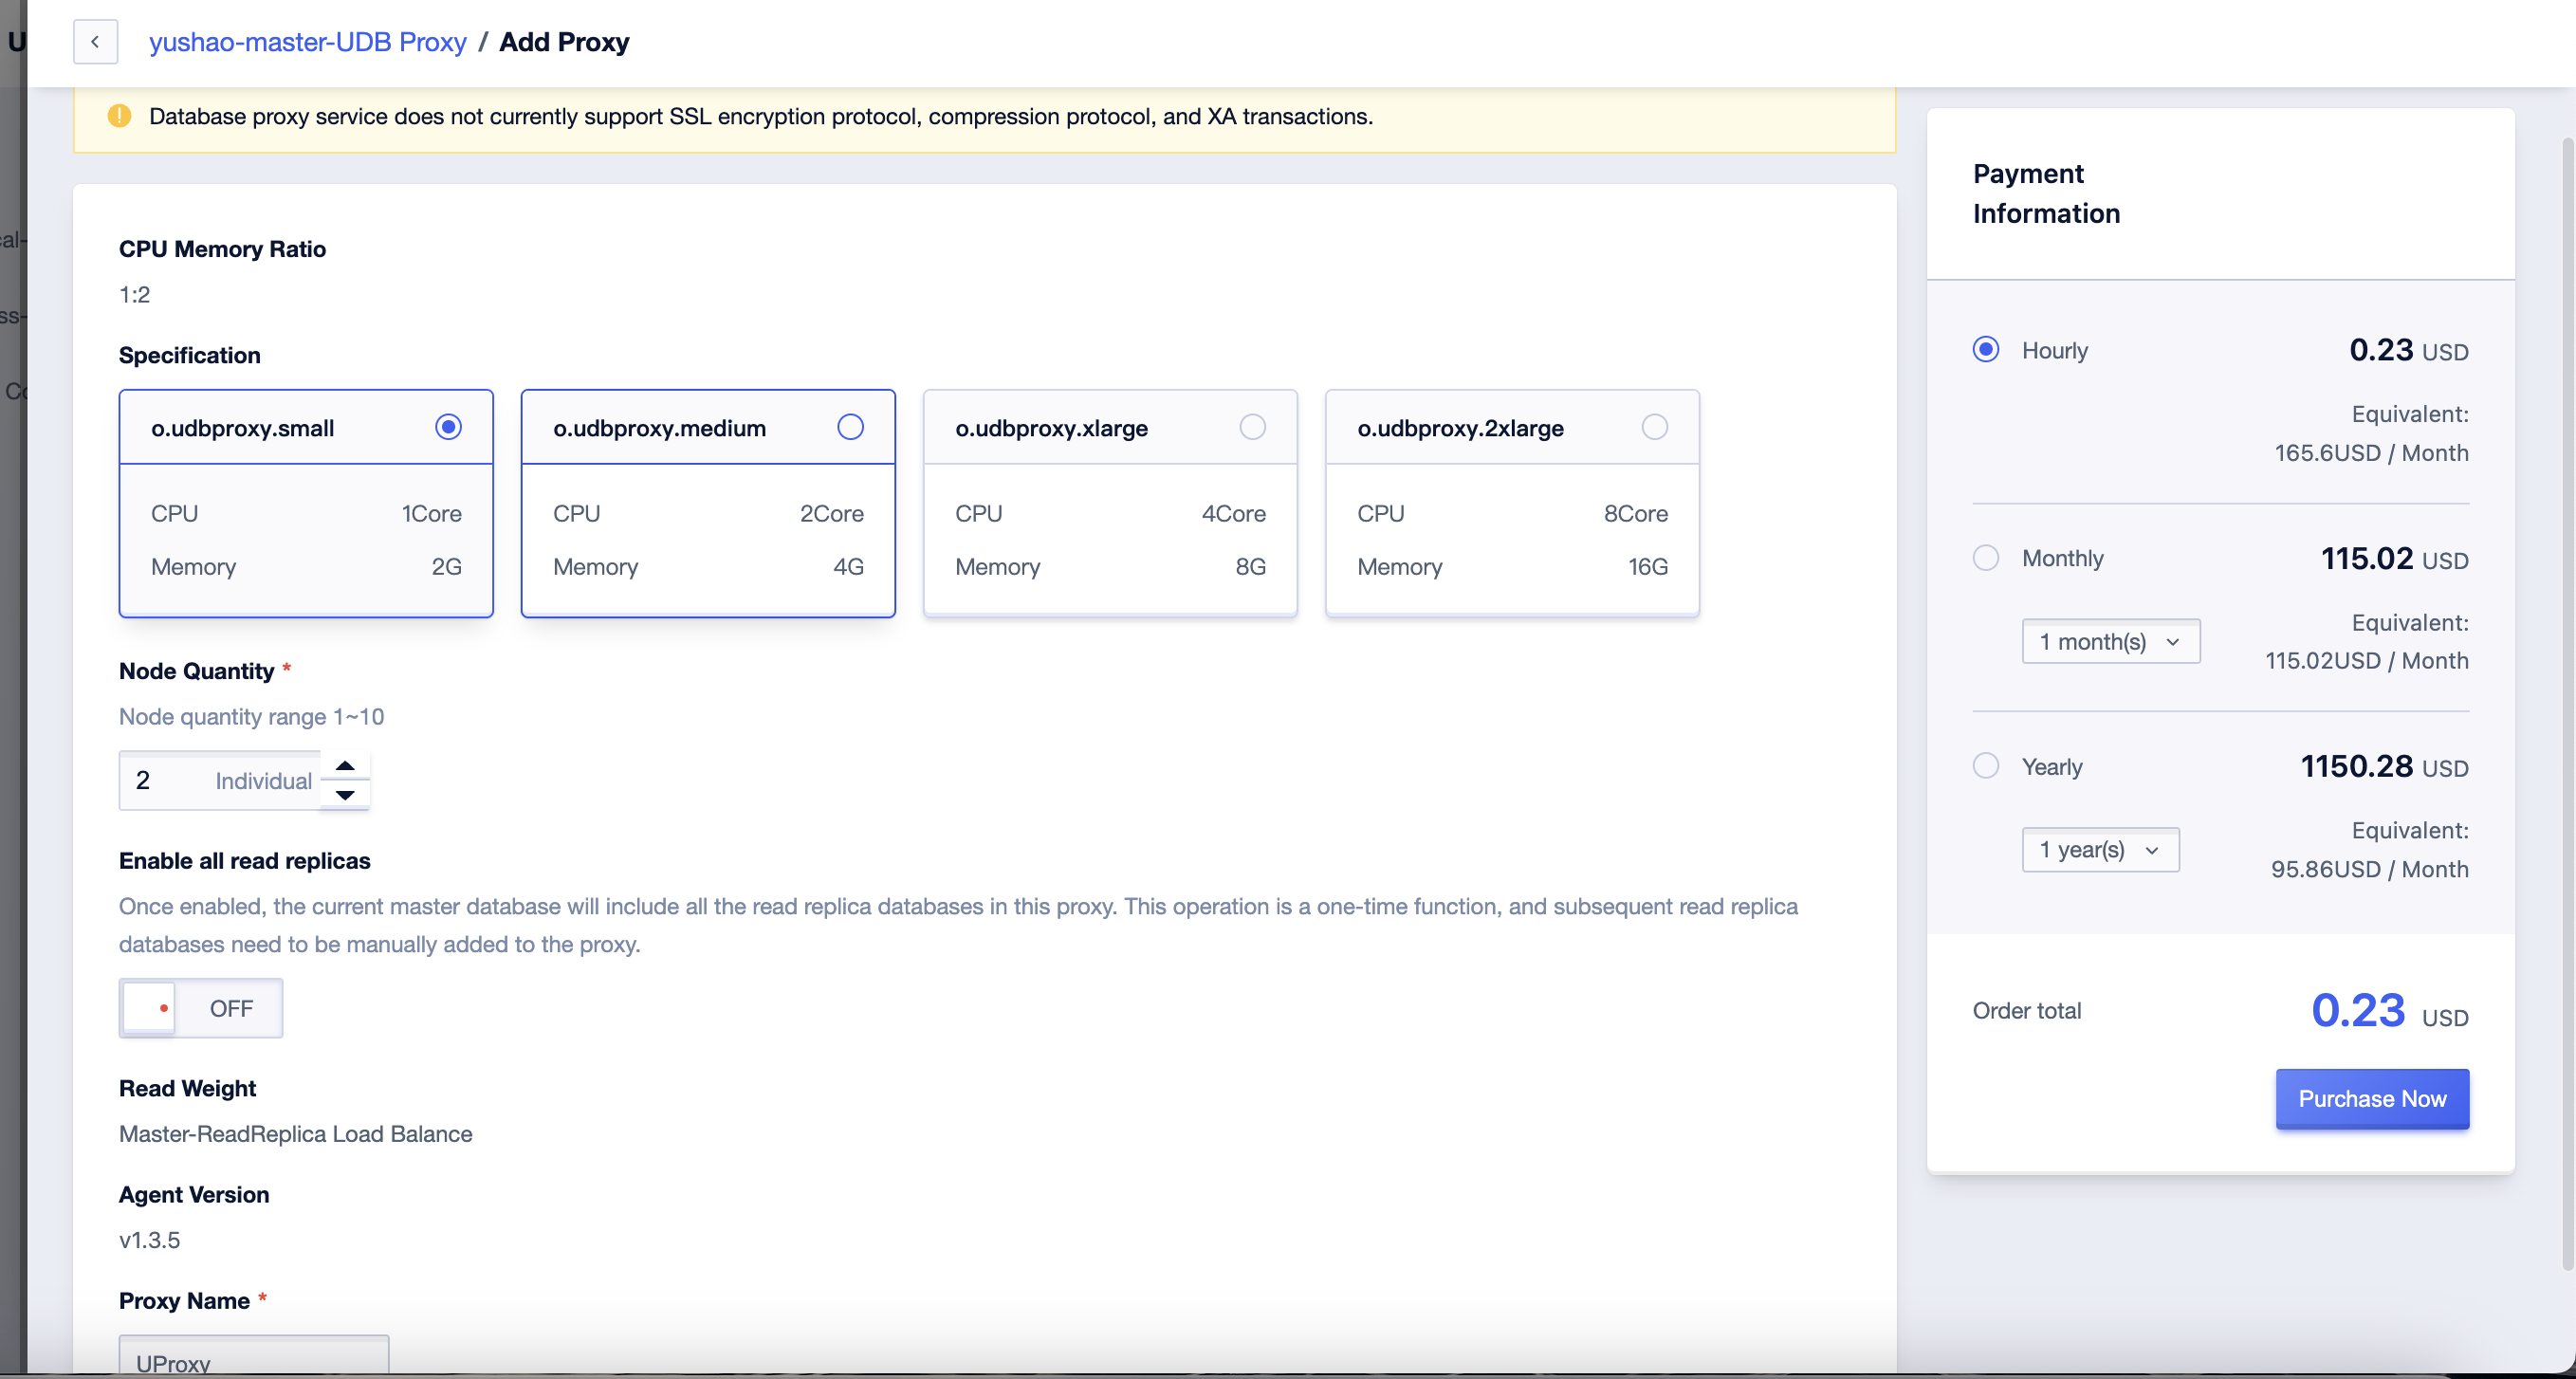
Choose an appropriate proxy model, configure the number of nodes, and enable the 'Unified Start for Standby Nodes' option. Finally, check the checkbox in the bottom right corner and click the 'Confirm' button (click to view features and limitations).
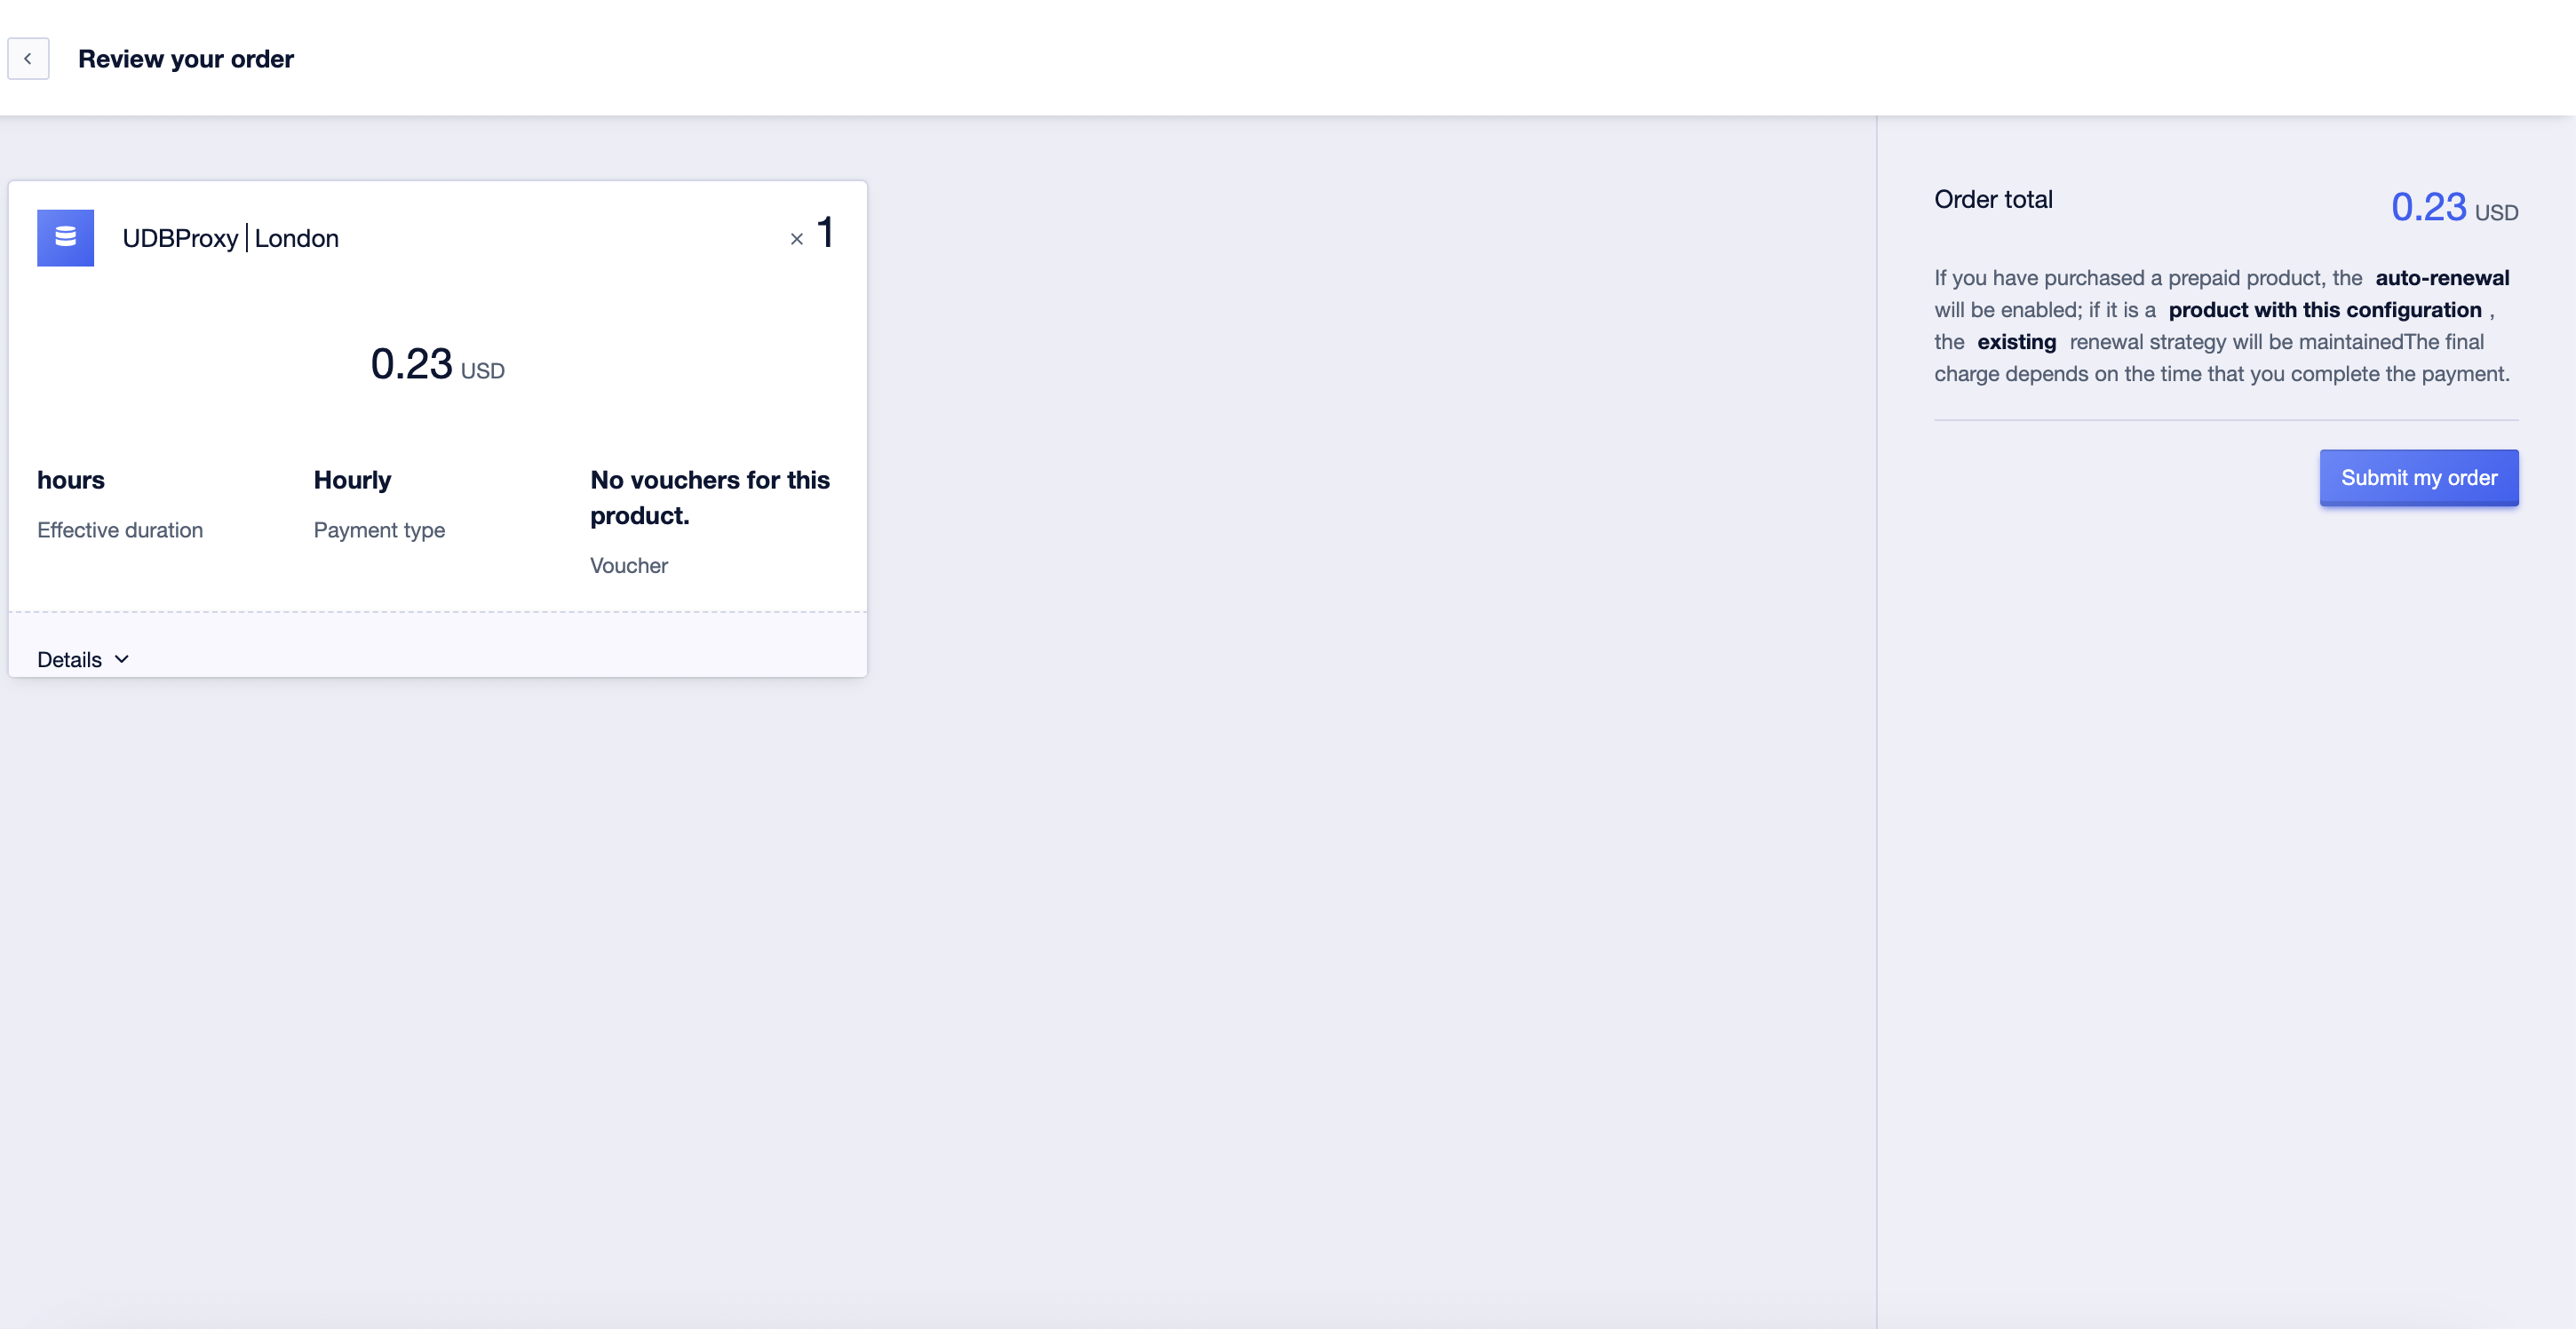
 Afterward, you will be redirected to the payment page. After verifying that the order information is correct, click the 'Pay Now' button on the right.
After a short while, you will be able to see the Database Proxy list page where you can view the created proxy. At this point, the proxy status will be 'Initializing.' Wait for some more time, and you will see the proxy change to 'Running' status.
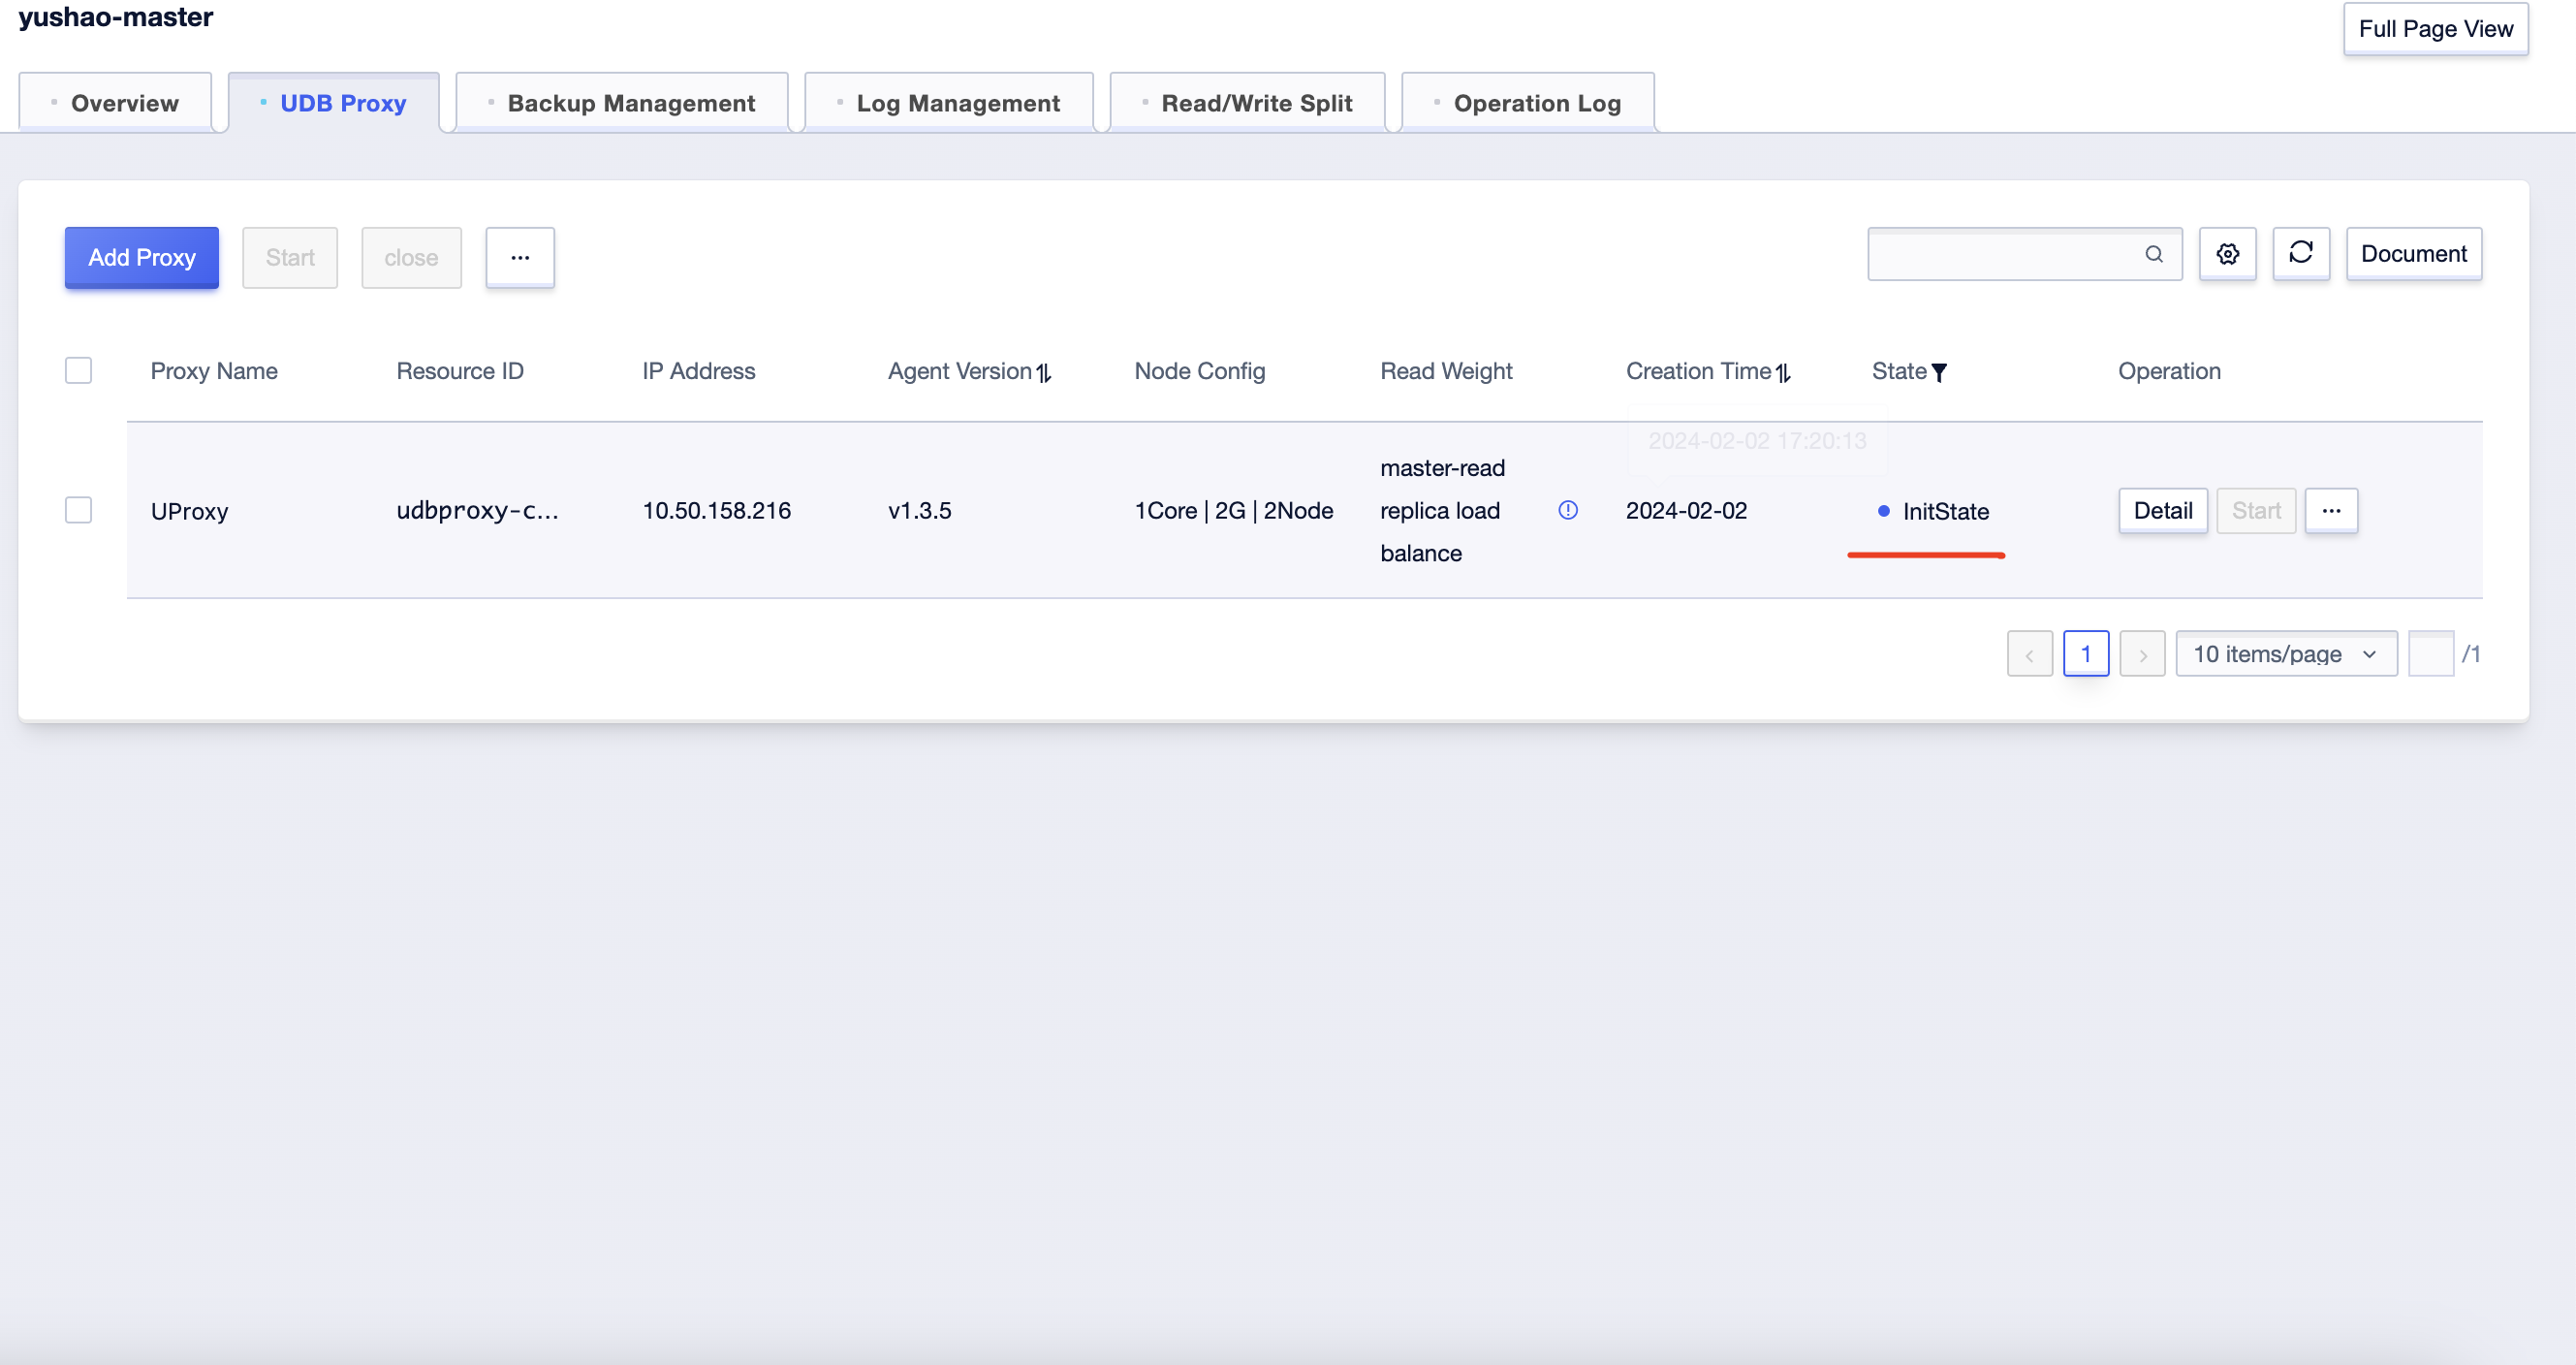
Click on the 'Add Proxy' in the upper-left corner to create multiple proxies. The number of proxies you can create for a MySQL cluster ranges from 1 to 10.

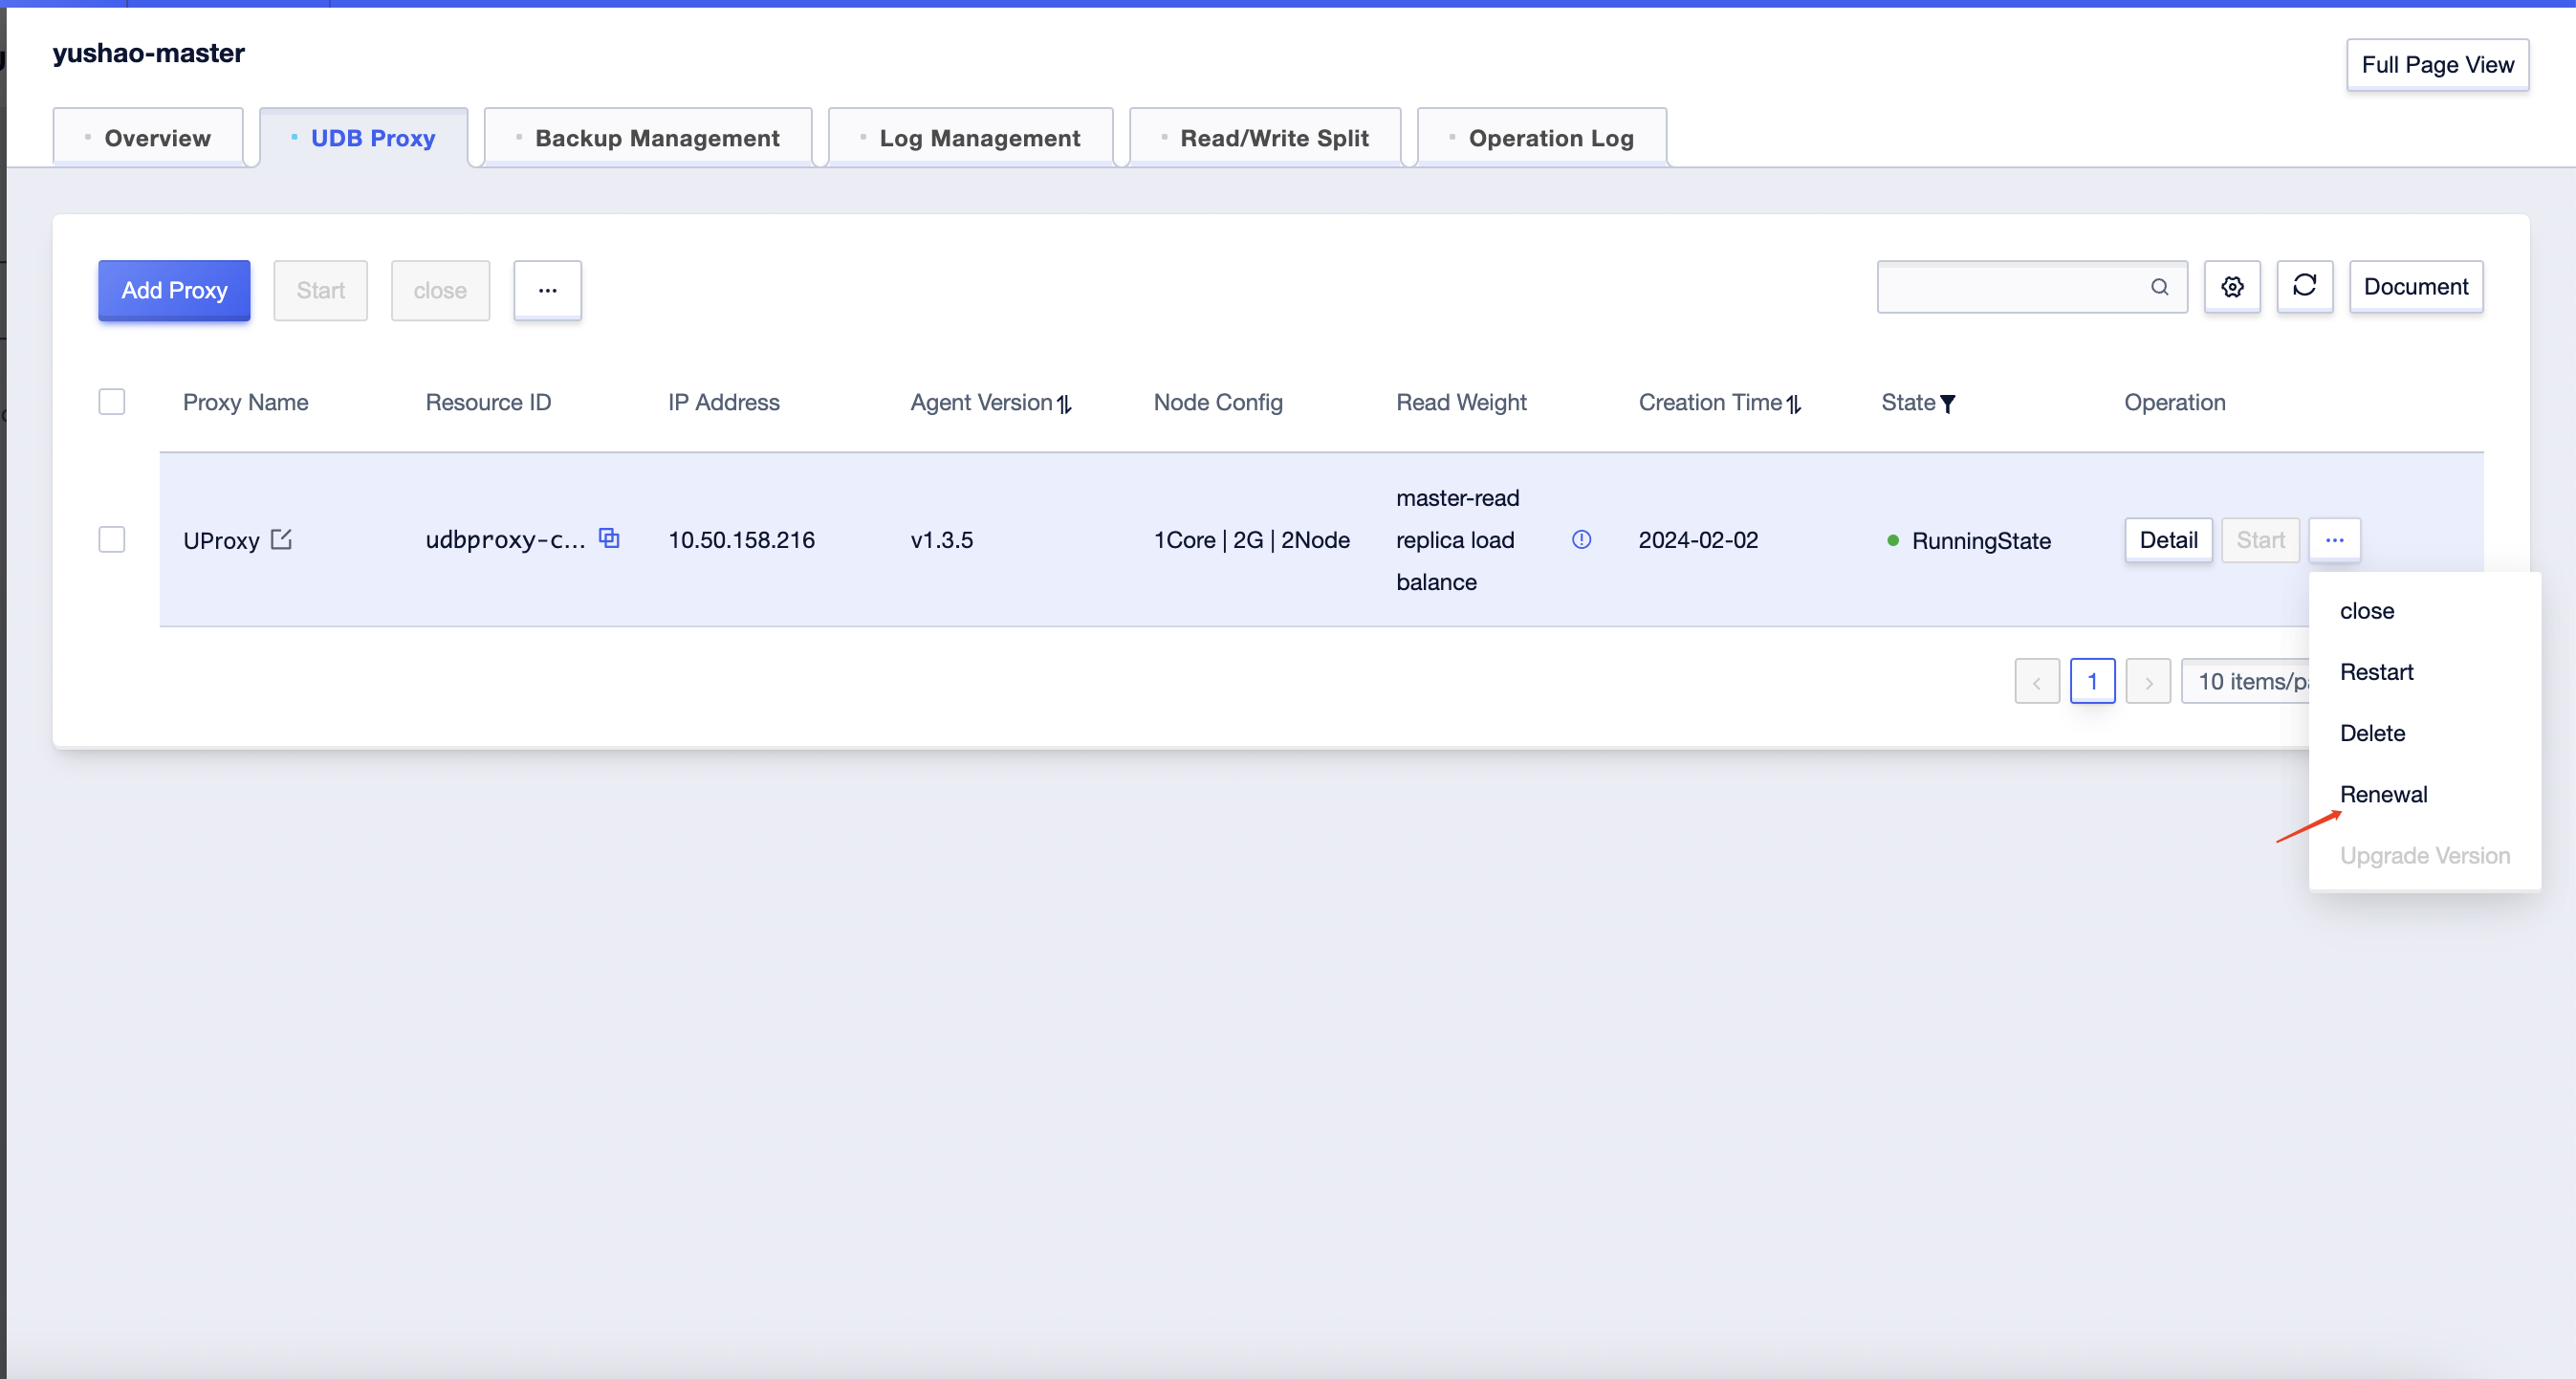
Operations on the Database Proxy from the list page
1.Select the 'Close' operation from the dropdown list on the right to close the Database Proxy.
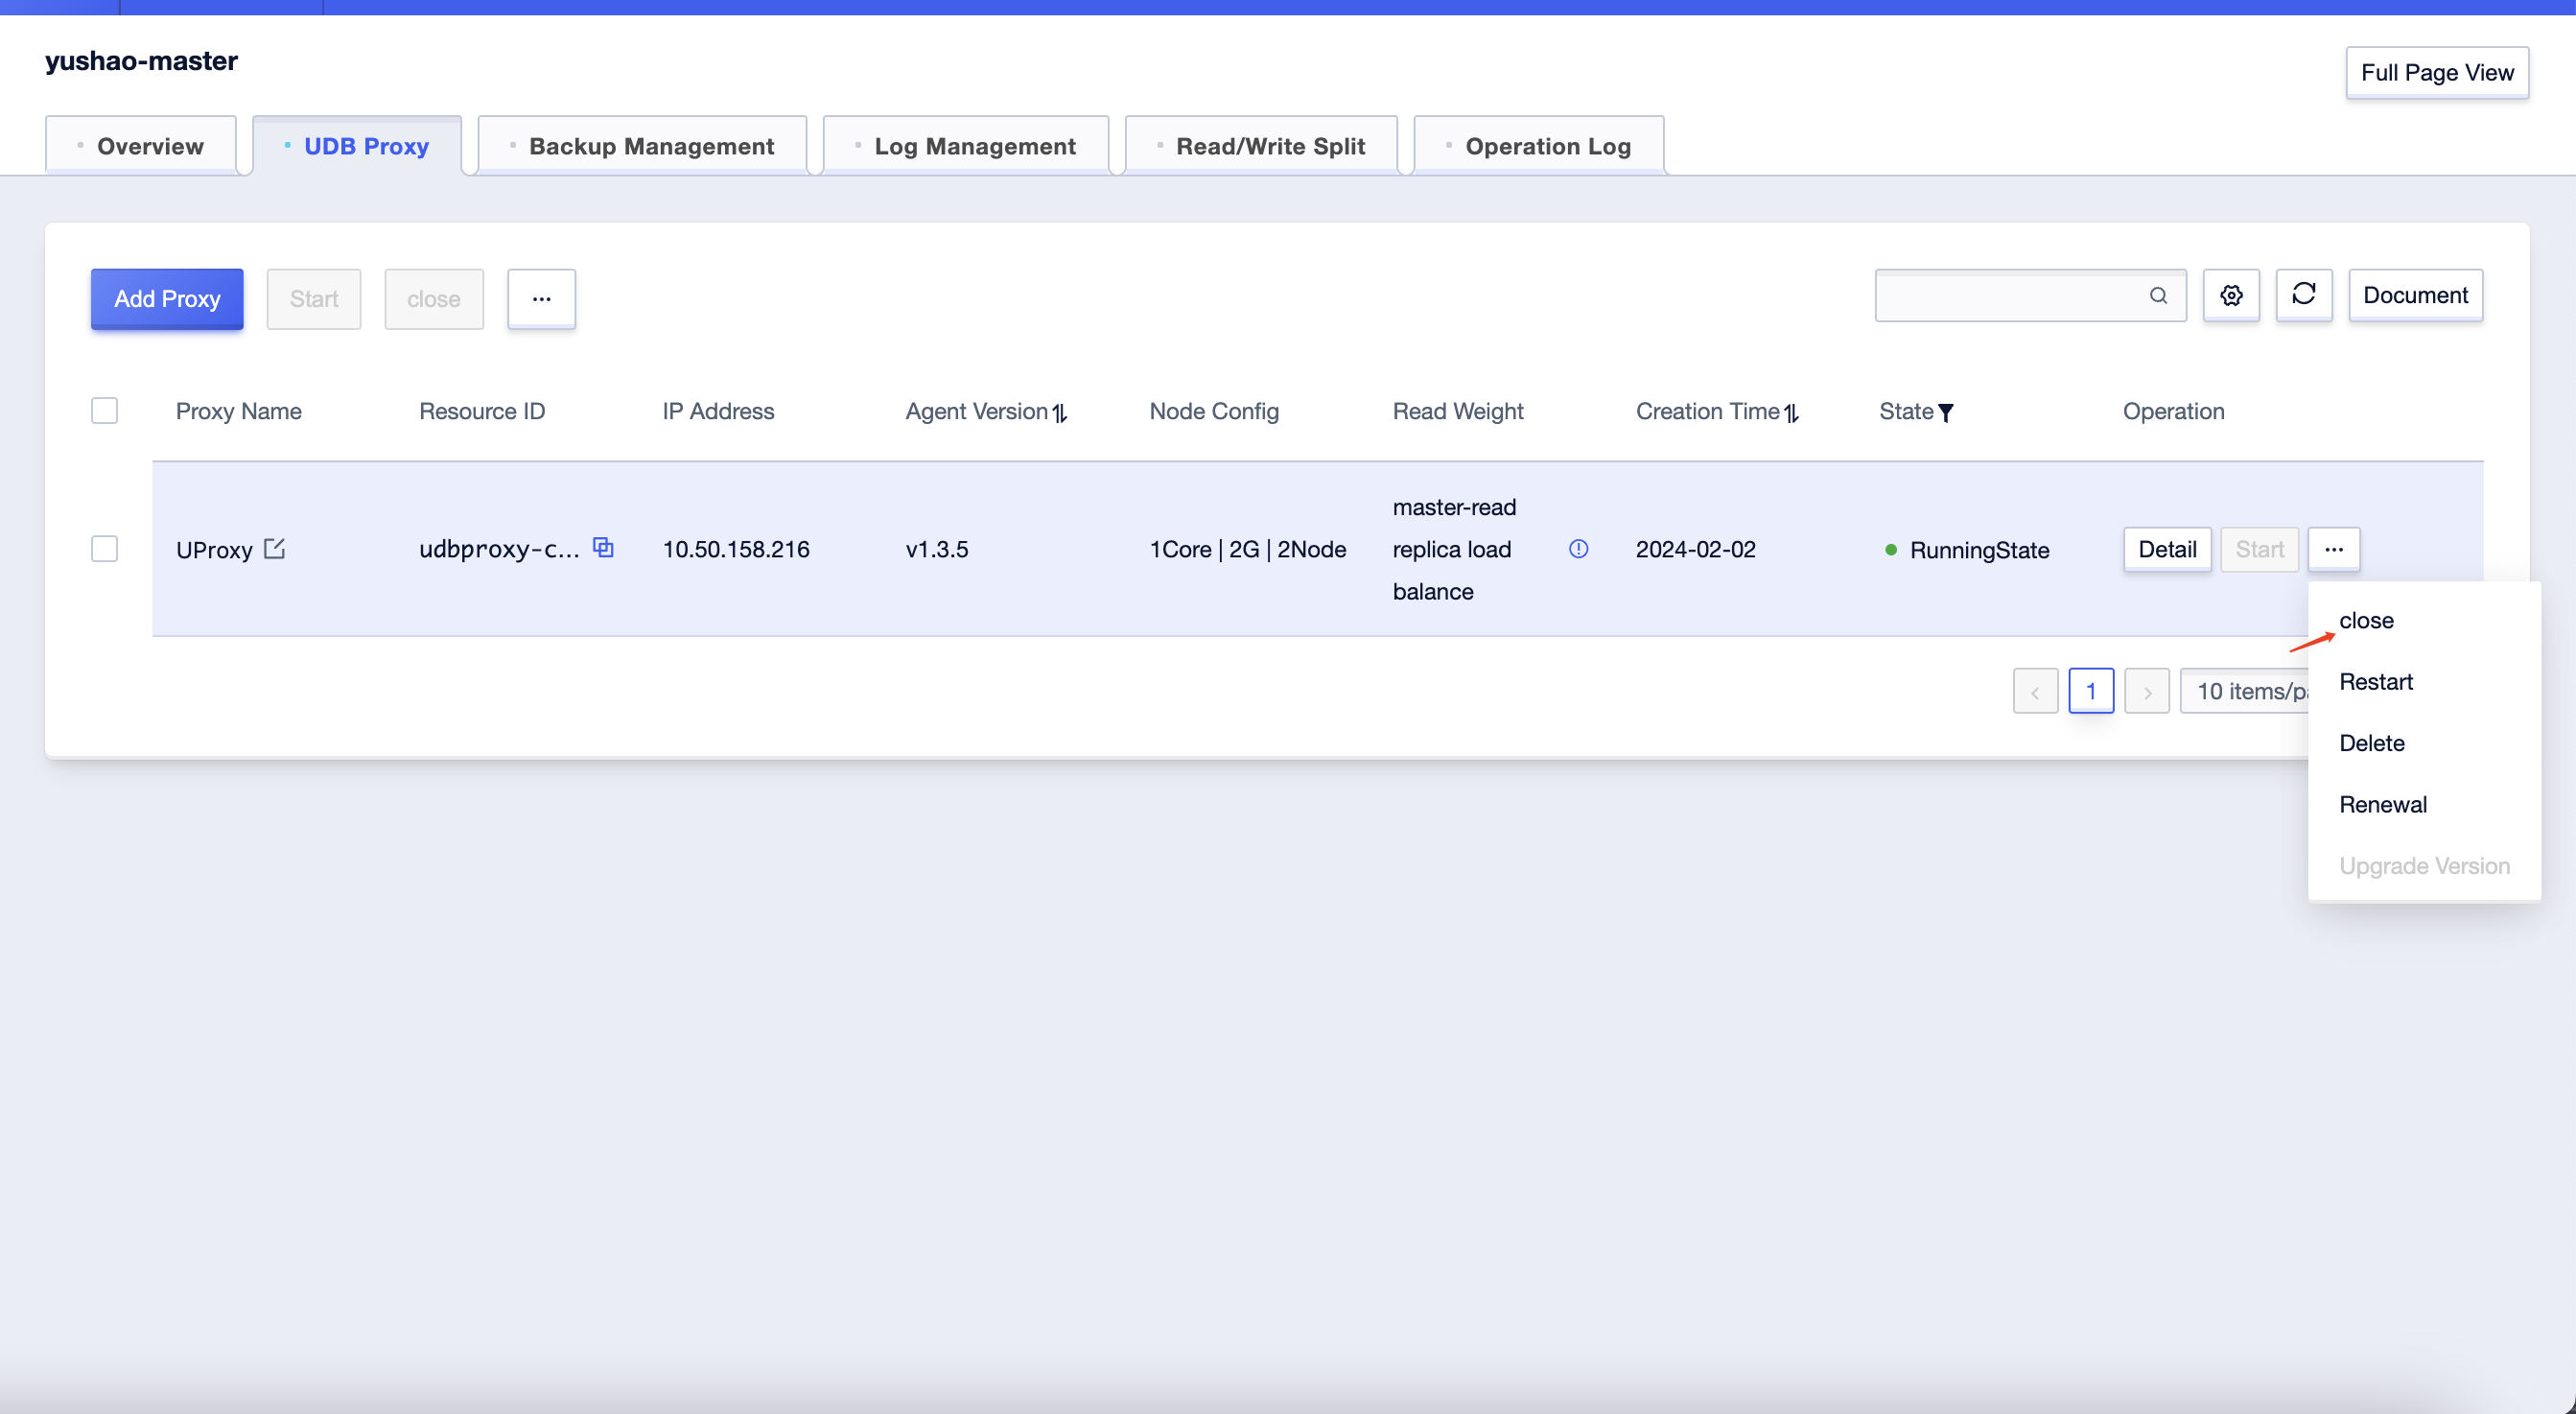
2.Select the 'Restart' operation from the dropdown list on the right to restart the Database Proxy.
3.Choose the 'Delete' operation from the dropdown list on the right. This will permanently delete the selected proxy, and it will not be recoverable.
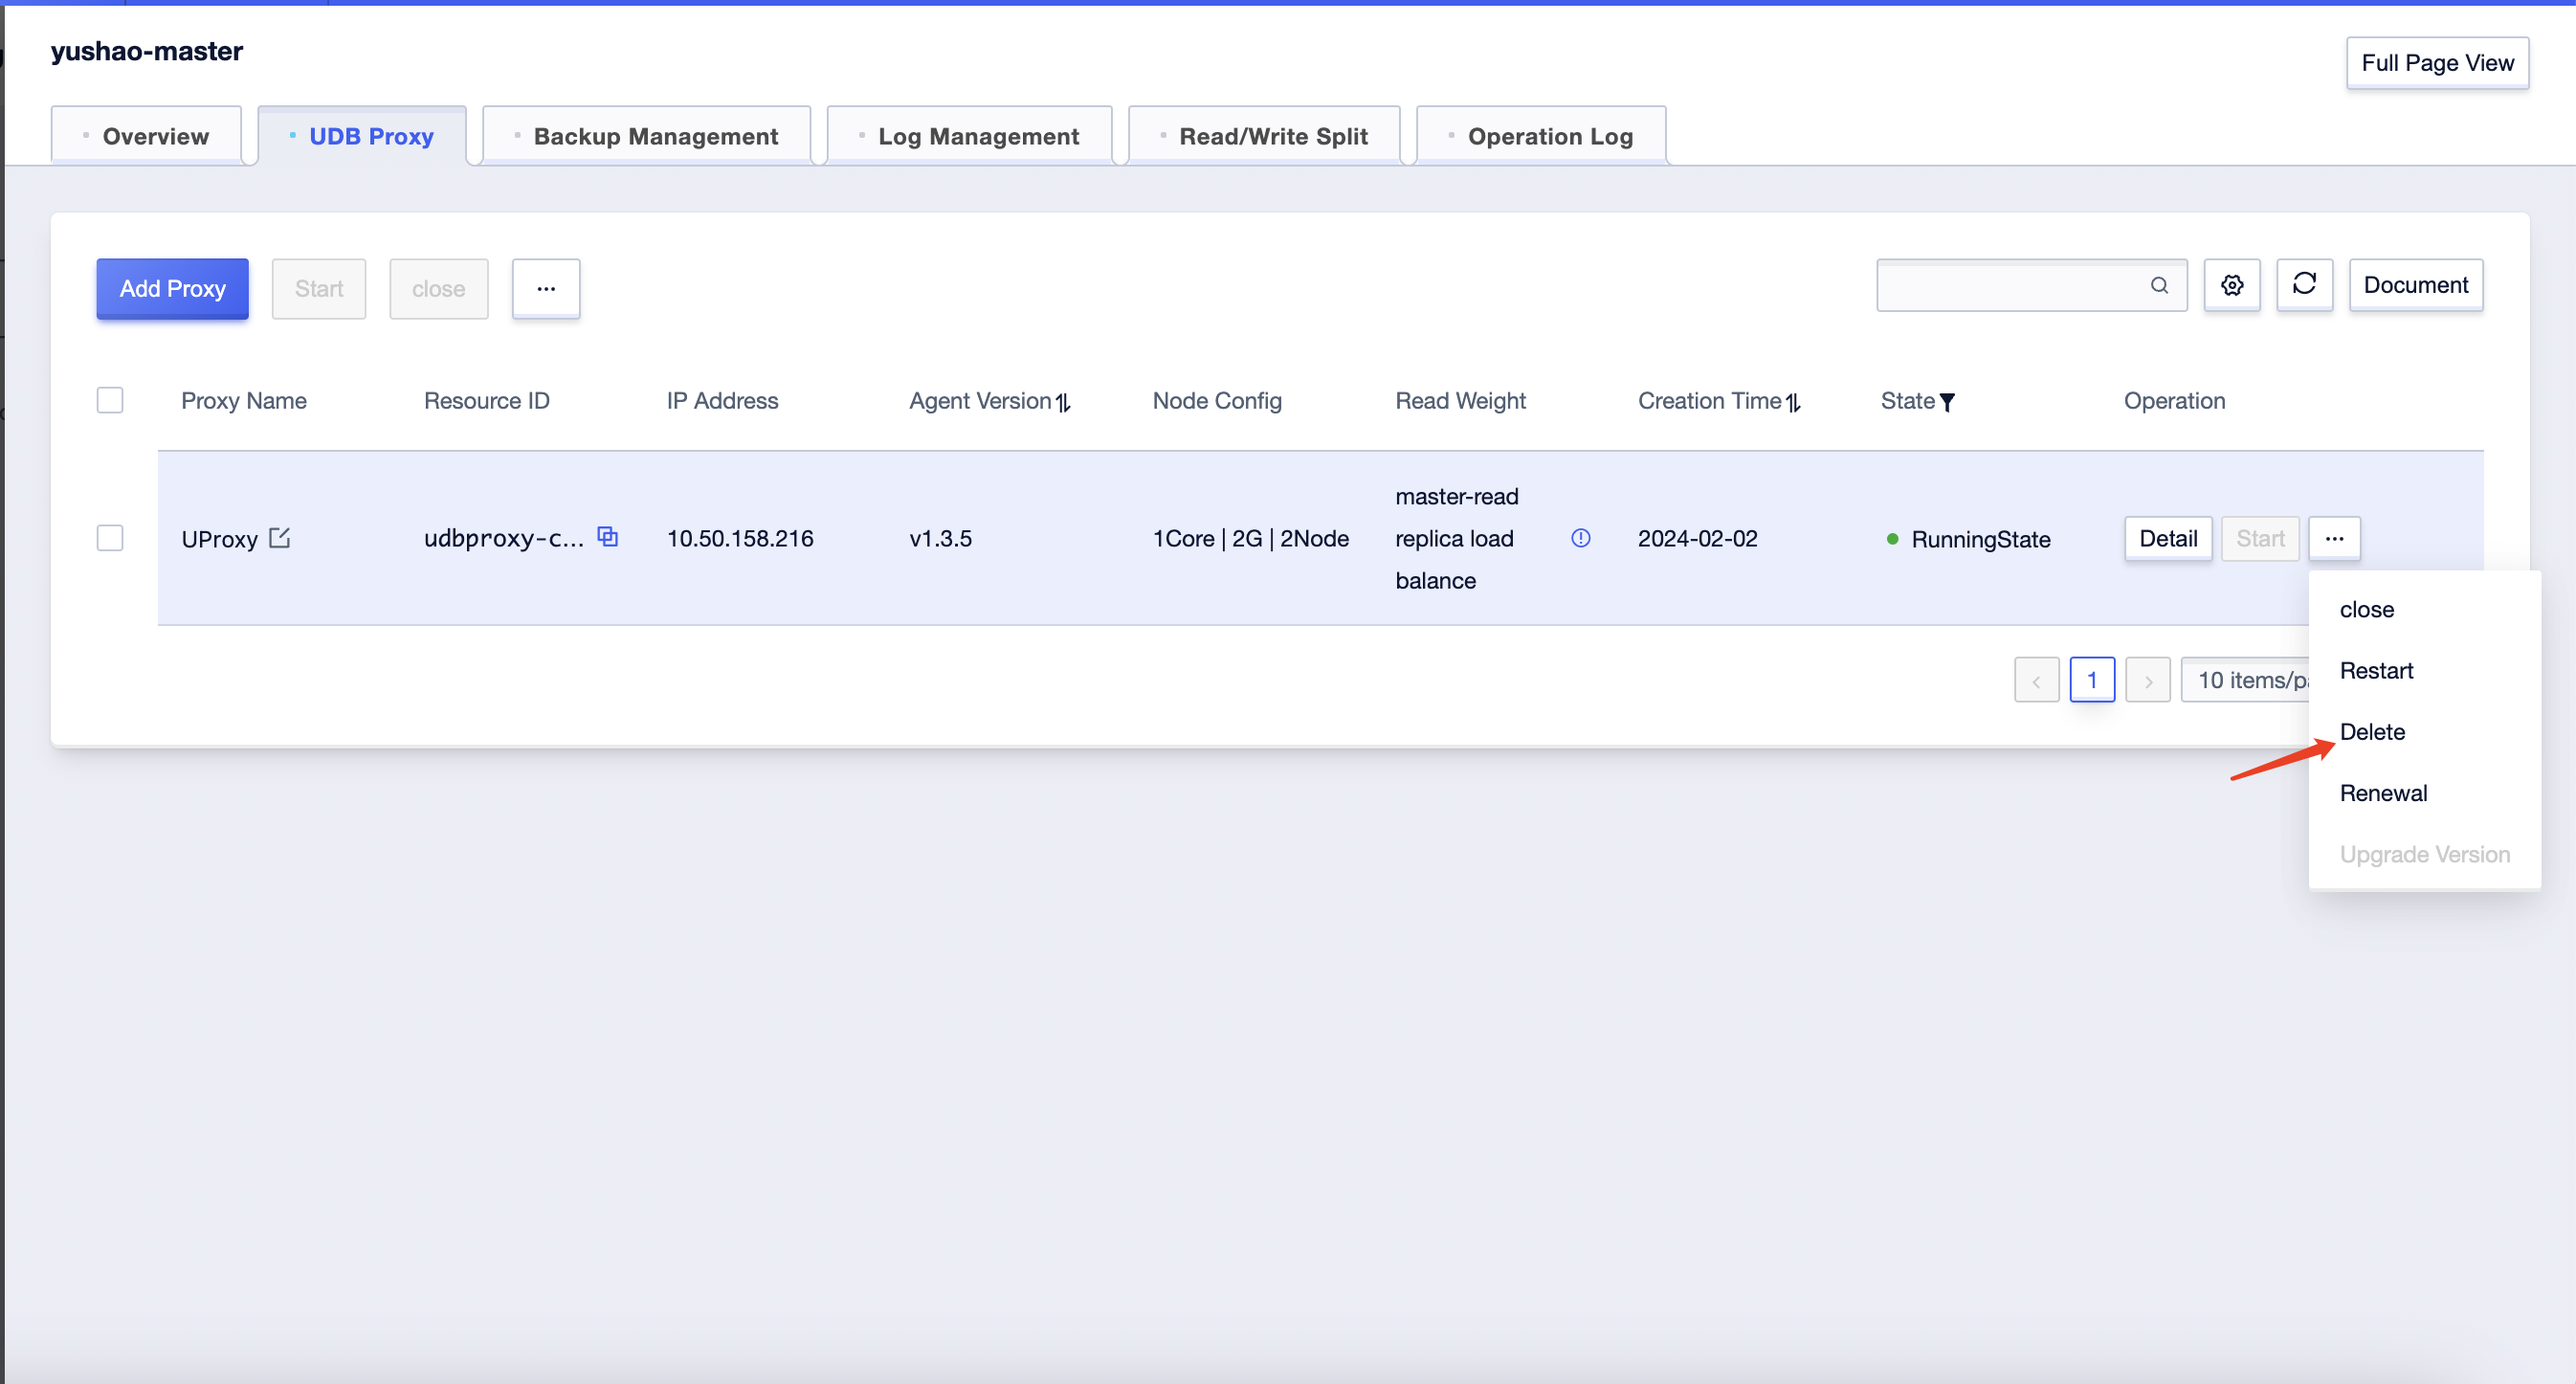
4.Select the 'Renew' operation from the dropdown list on the right. Renewal will take effect immediately upon successful completion.
Close the Database Proxy
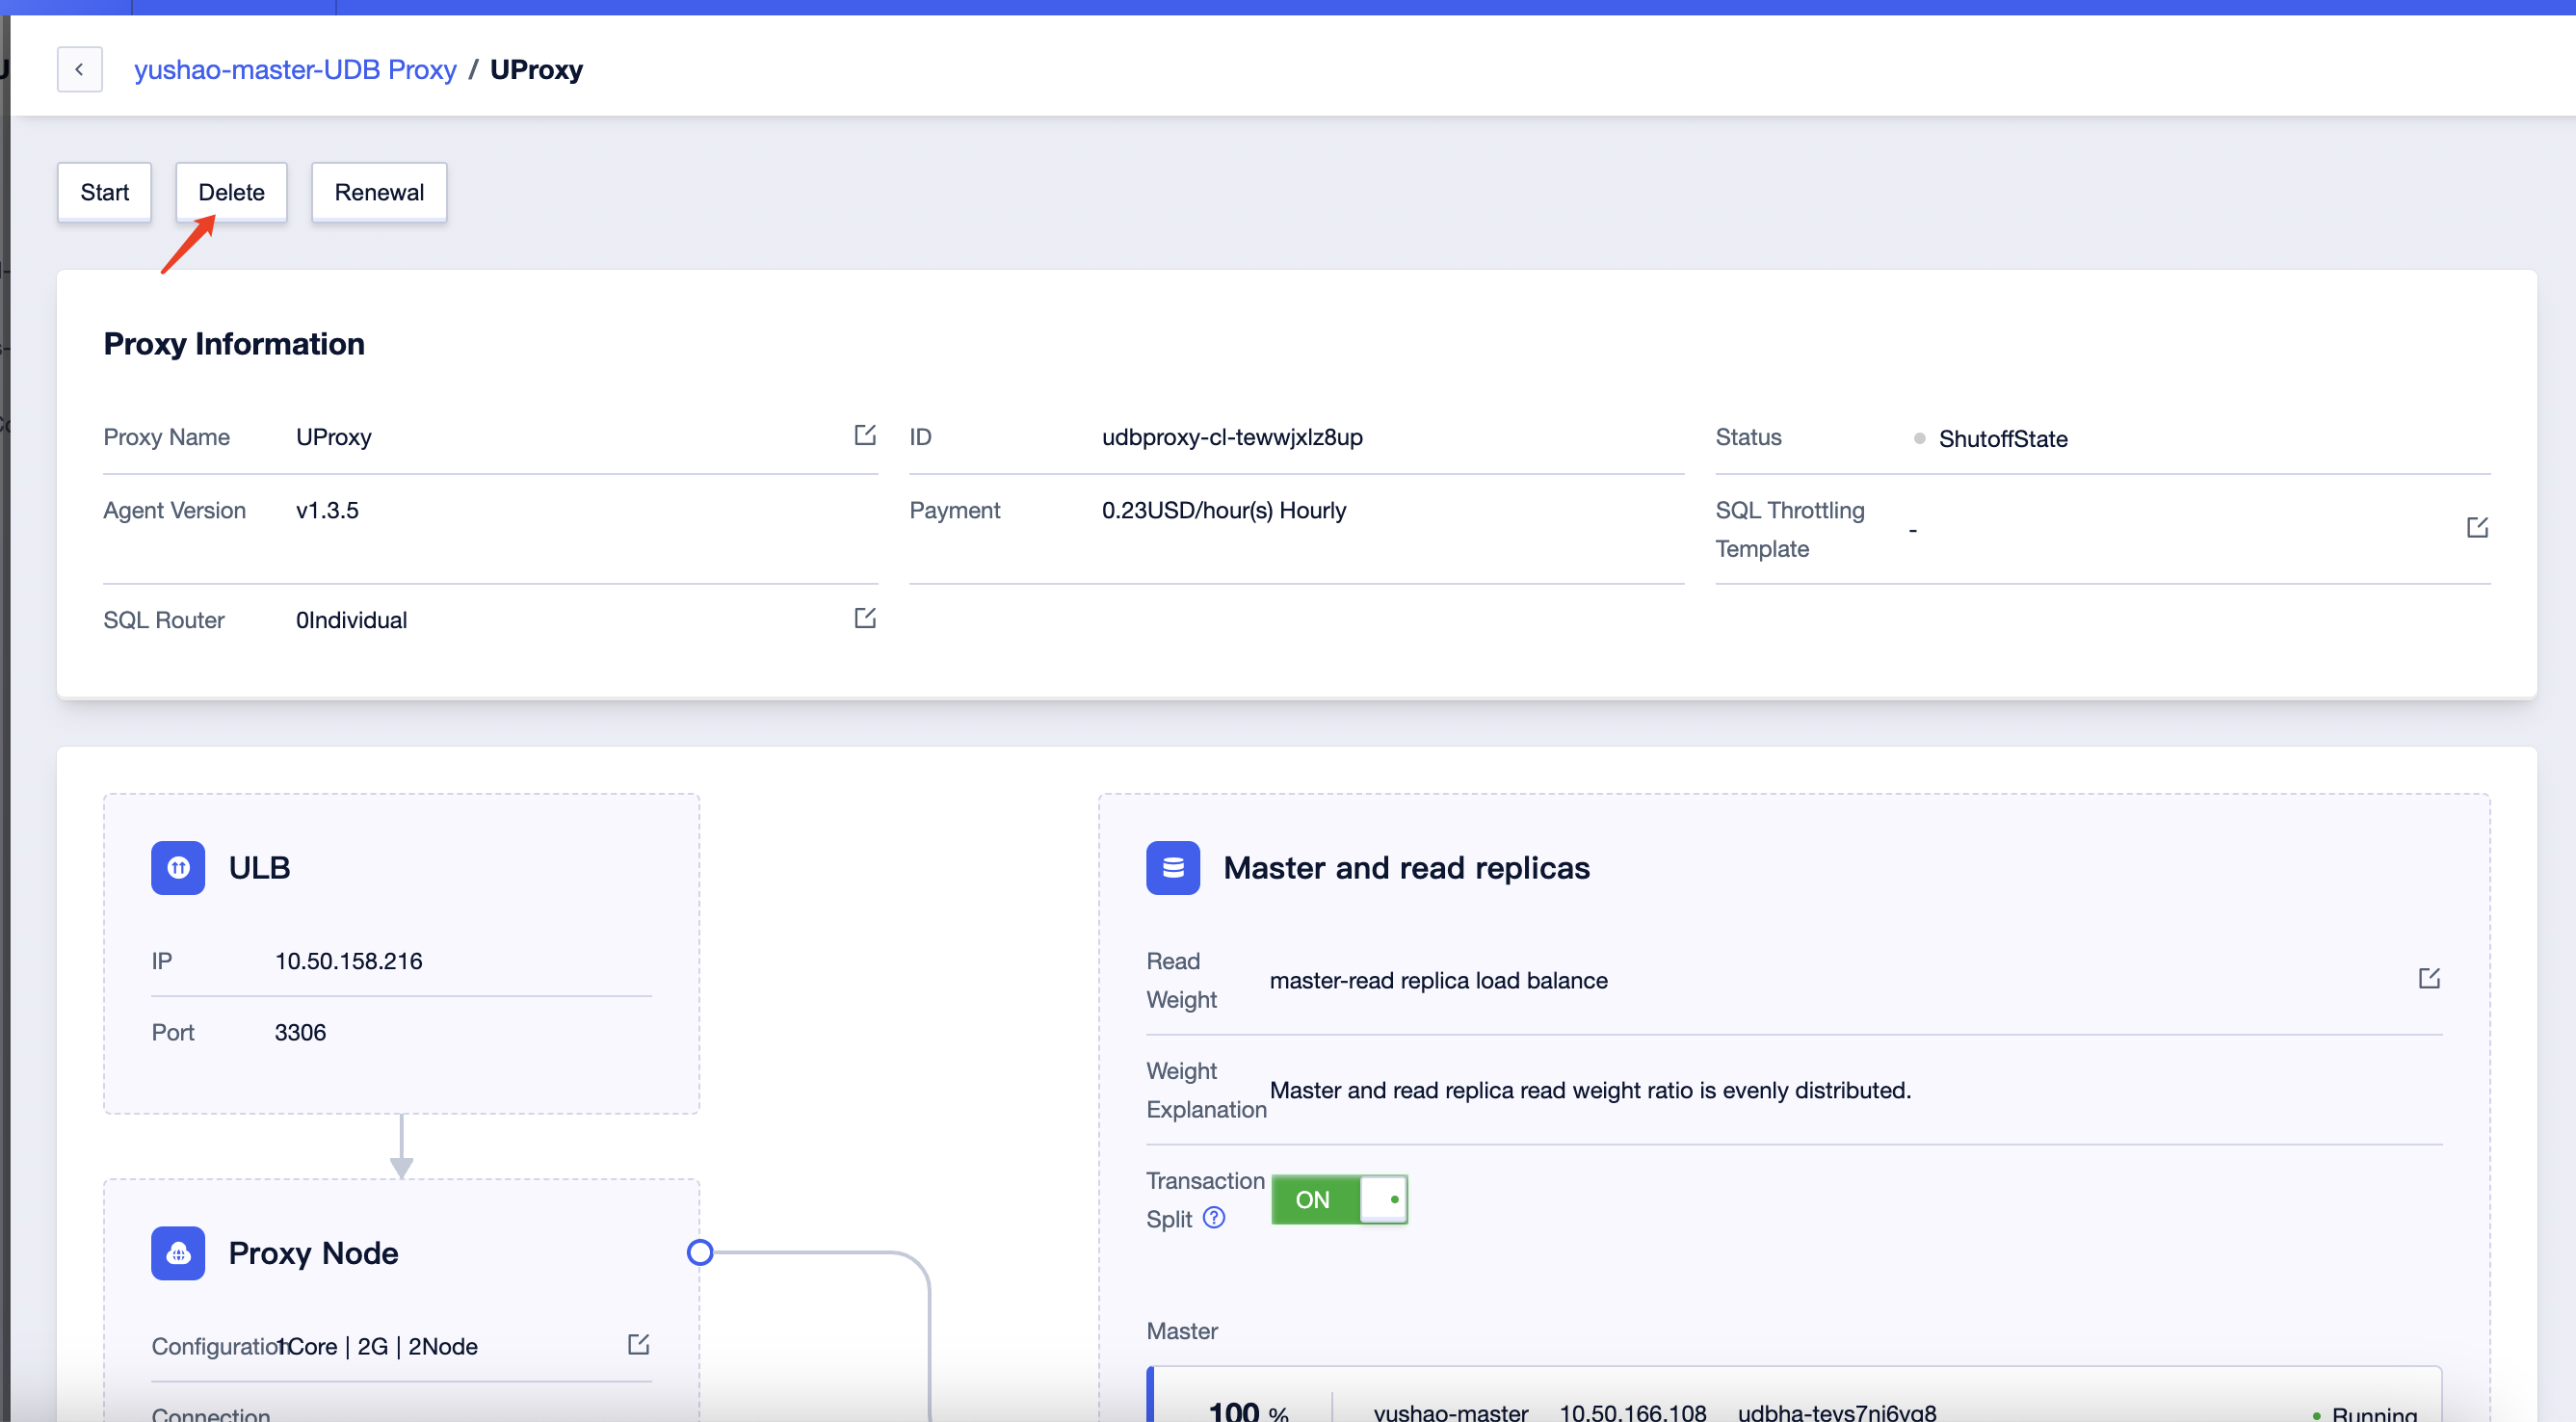
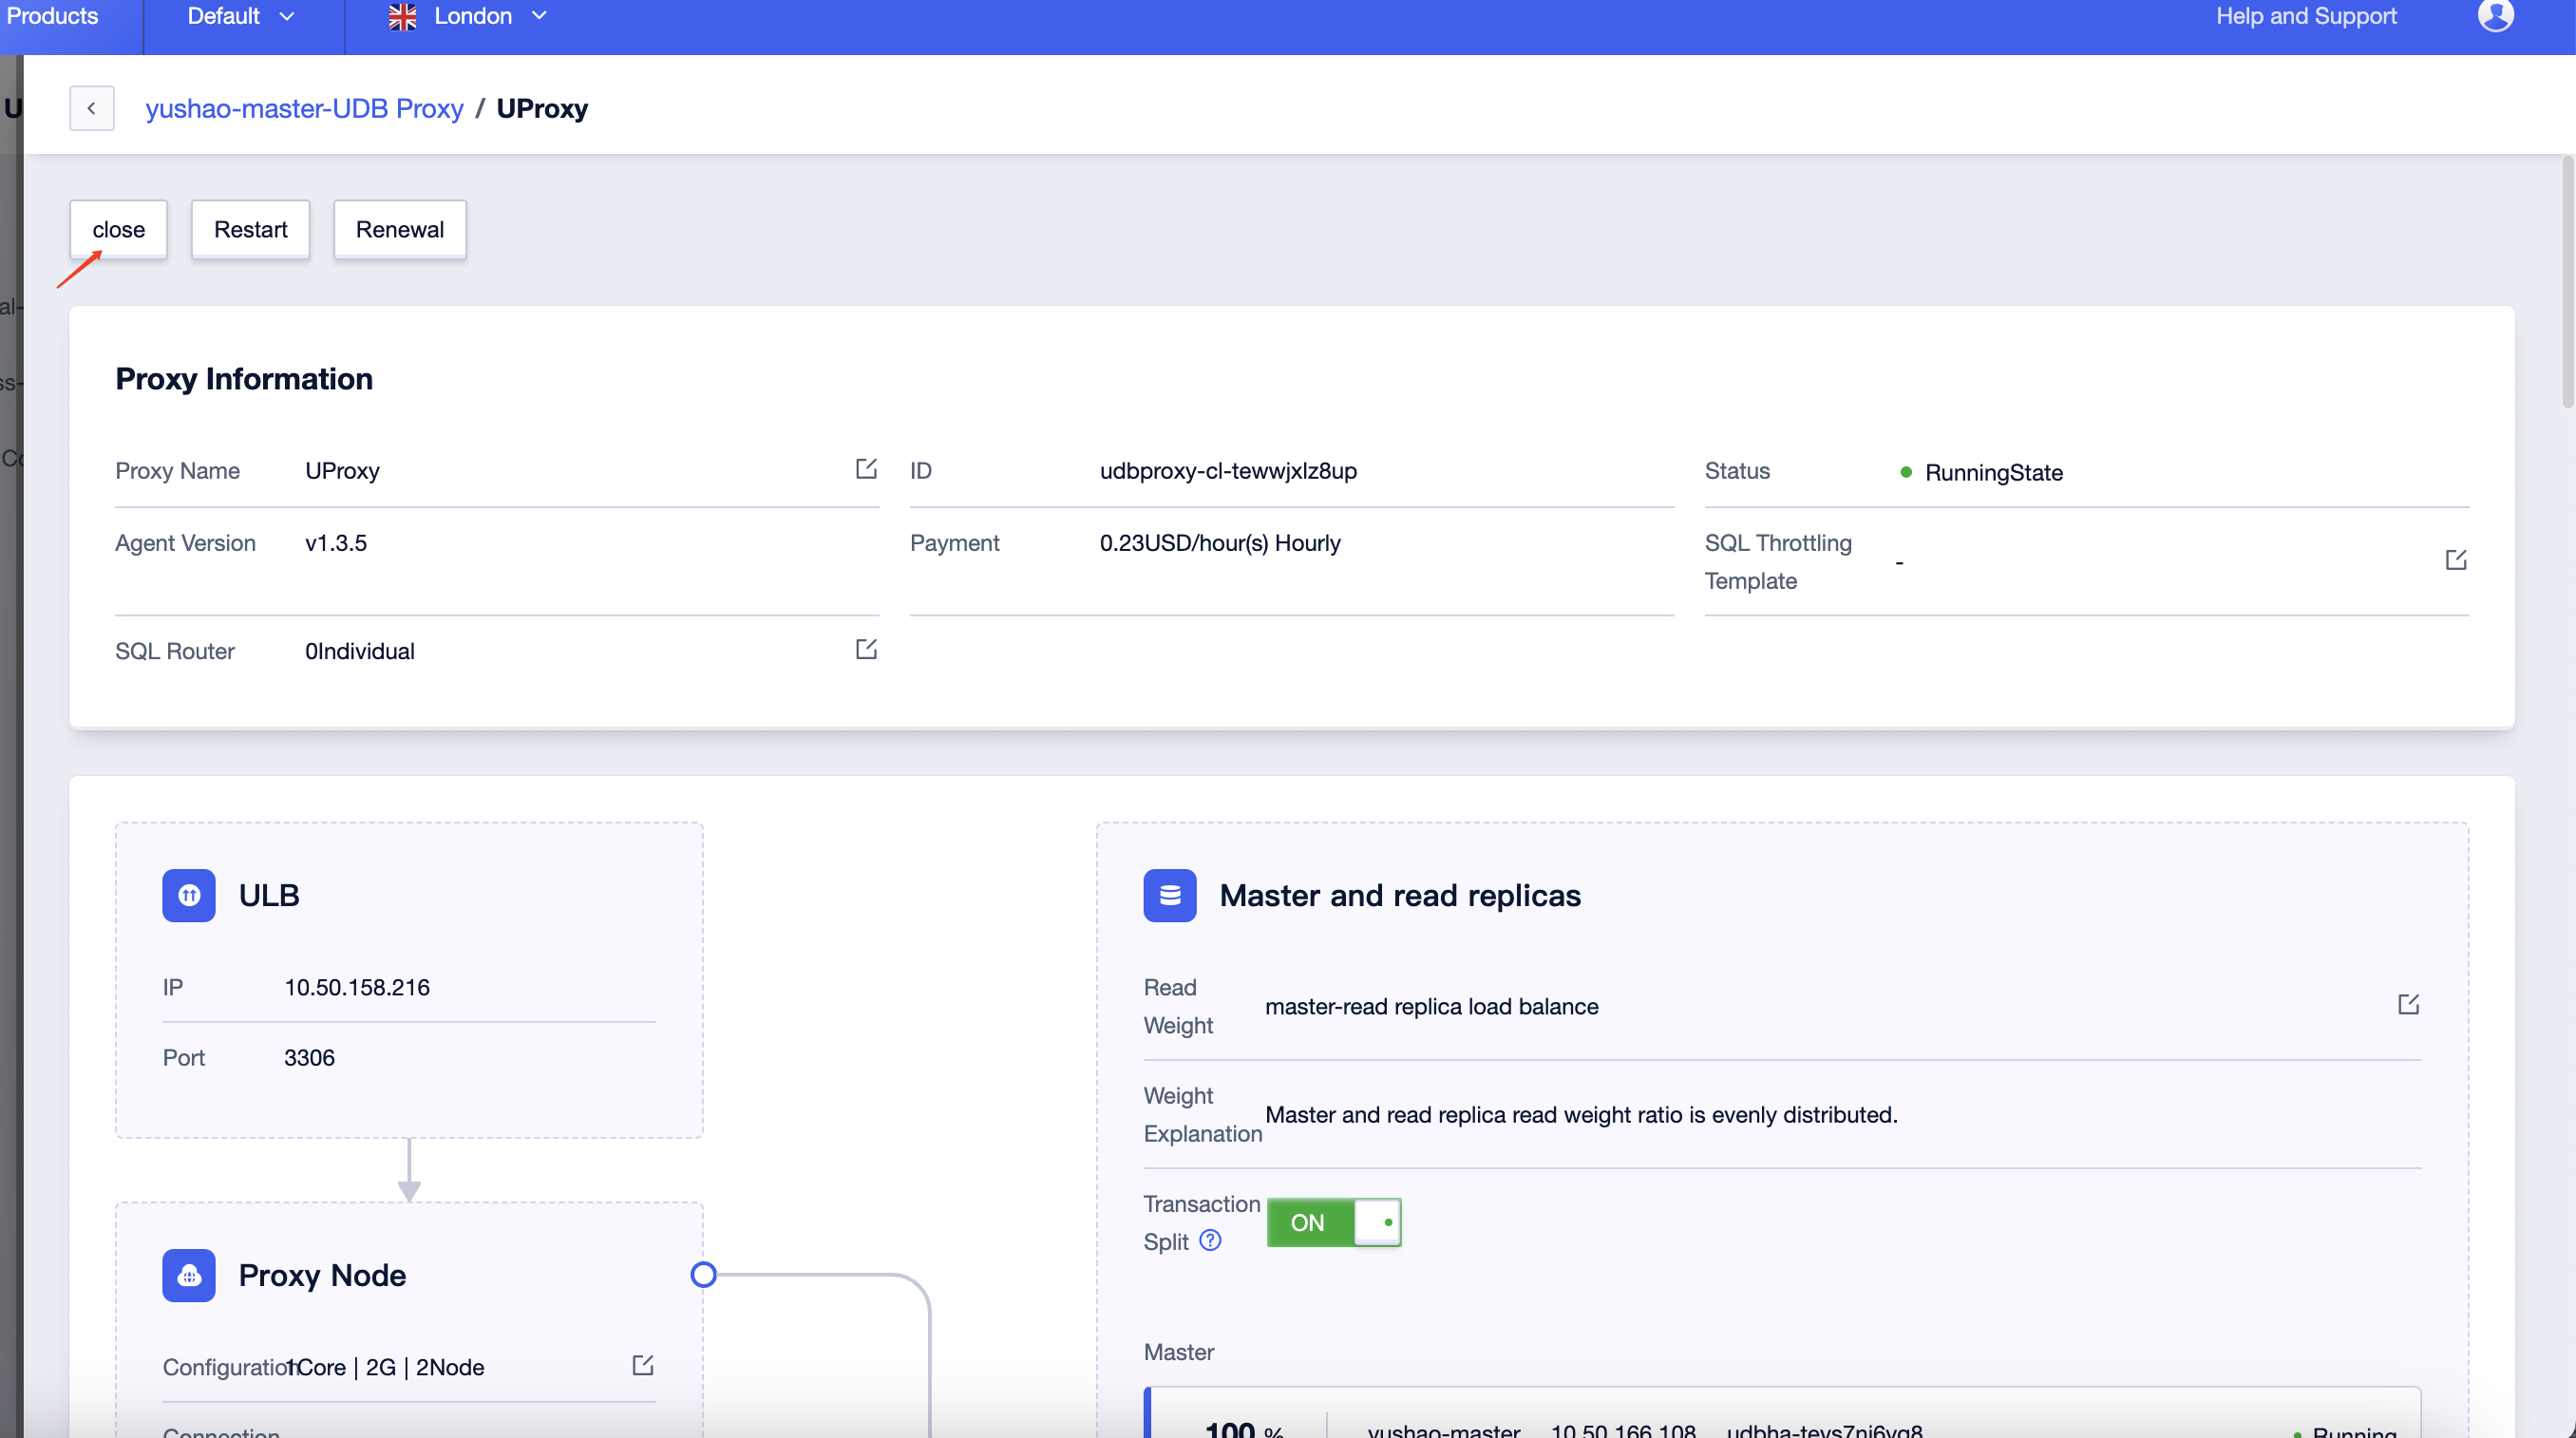
Click on 'Details' for the proxy to enter the details page, and you will find the 'Close' button in the upper-left corner.
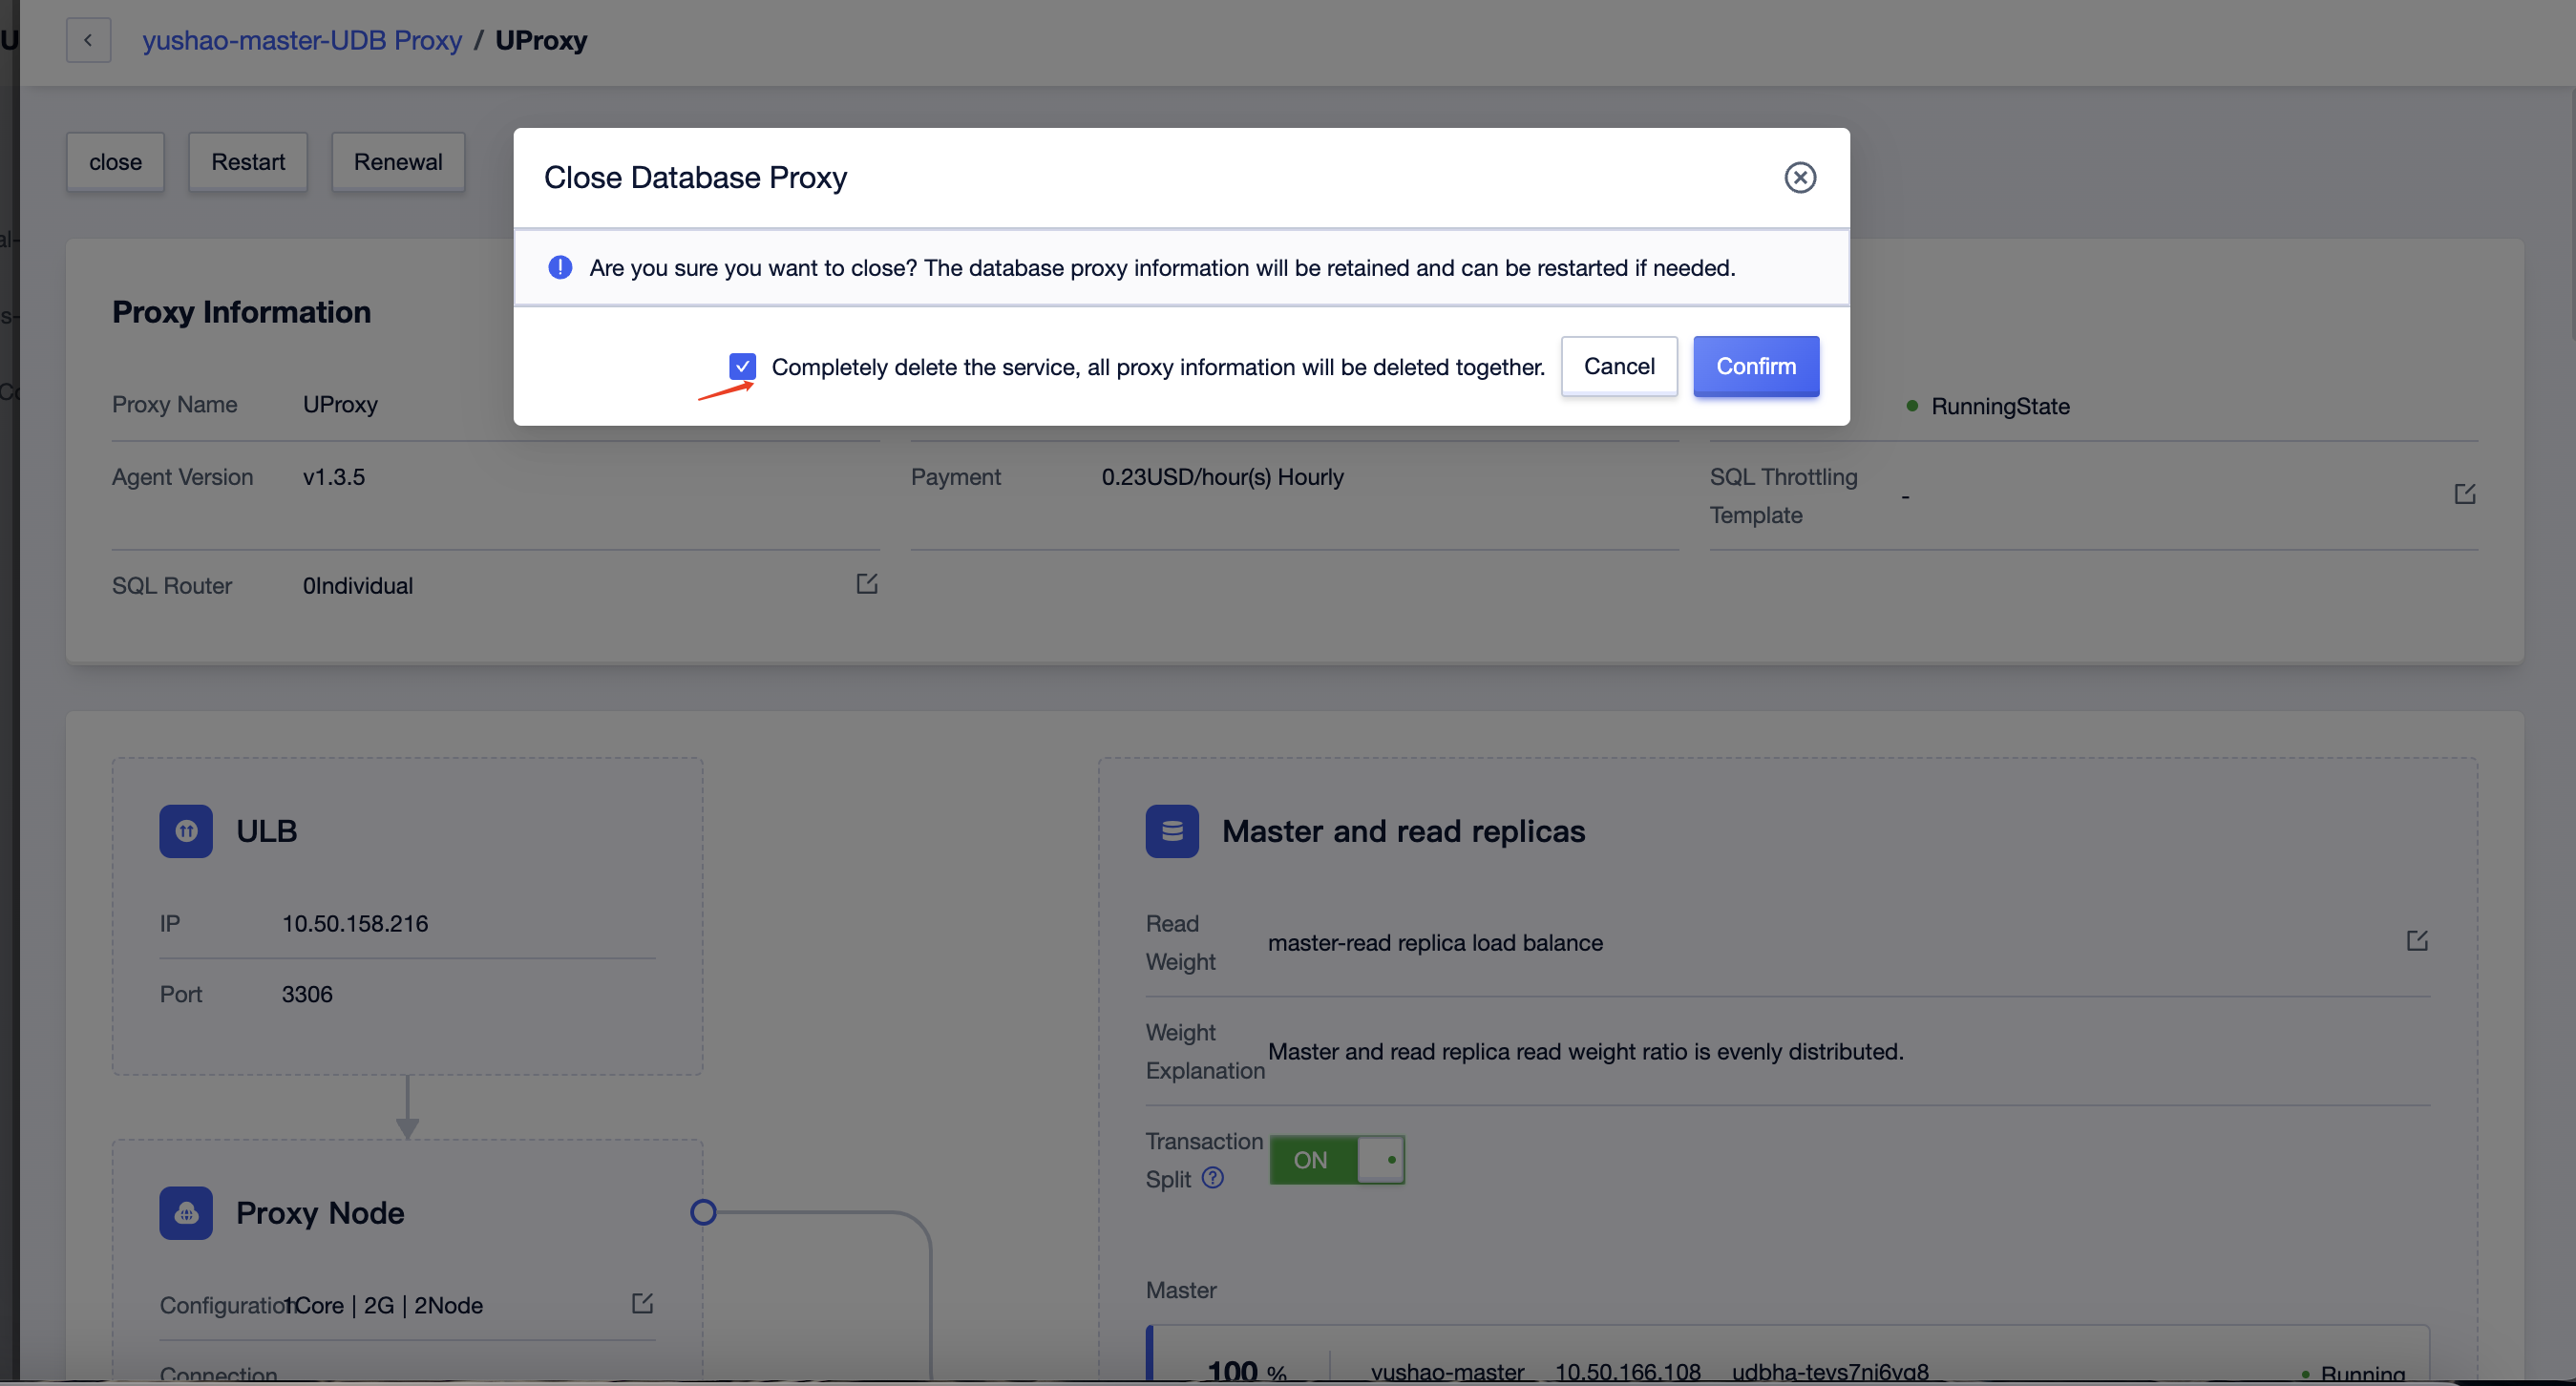
After clicking, a confirmation dialog will appear. On the left side, there will be a radio button for 'Whether to completely delete the service.' If it is not selected, the proxy will be closed, and you can reopen it later. If it is selected, the proxy will be permanently deleted, and the proxy configuration will be lost.
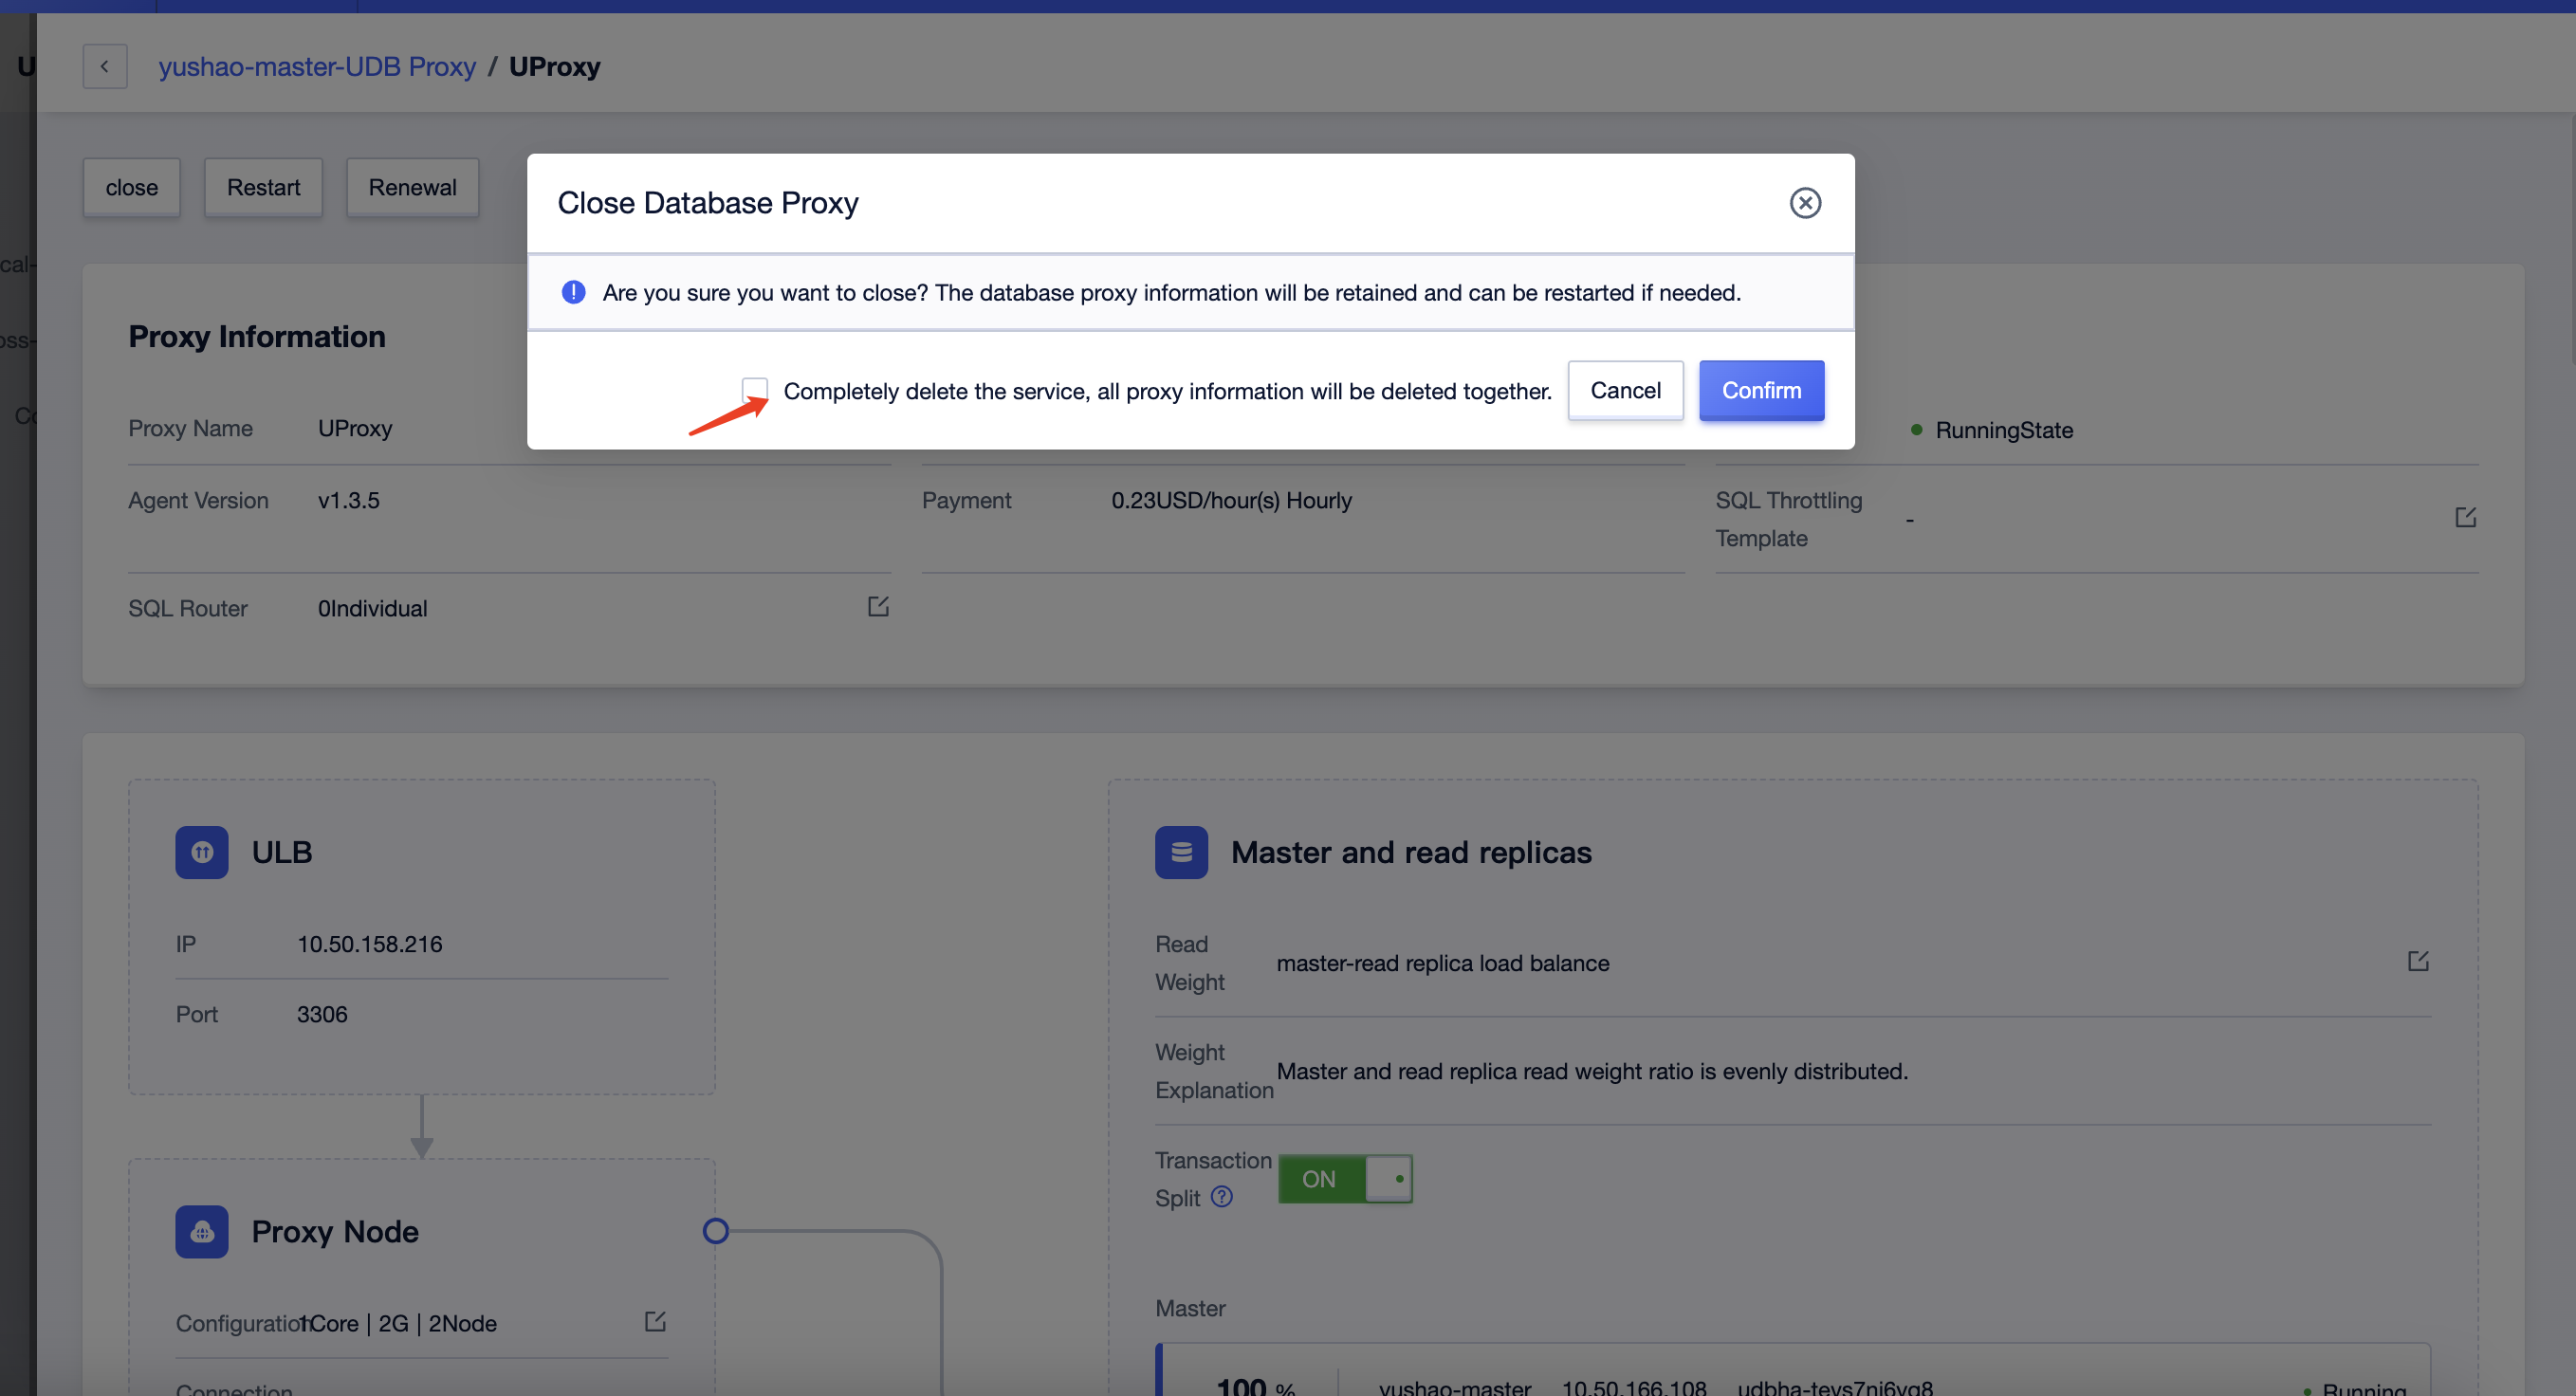
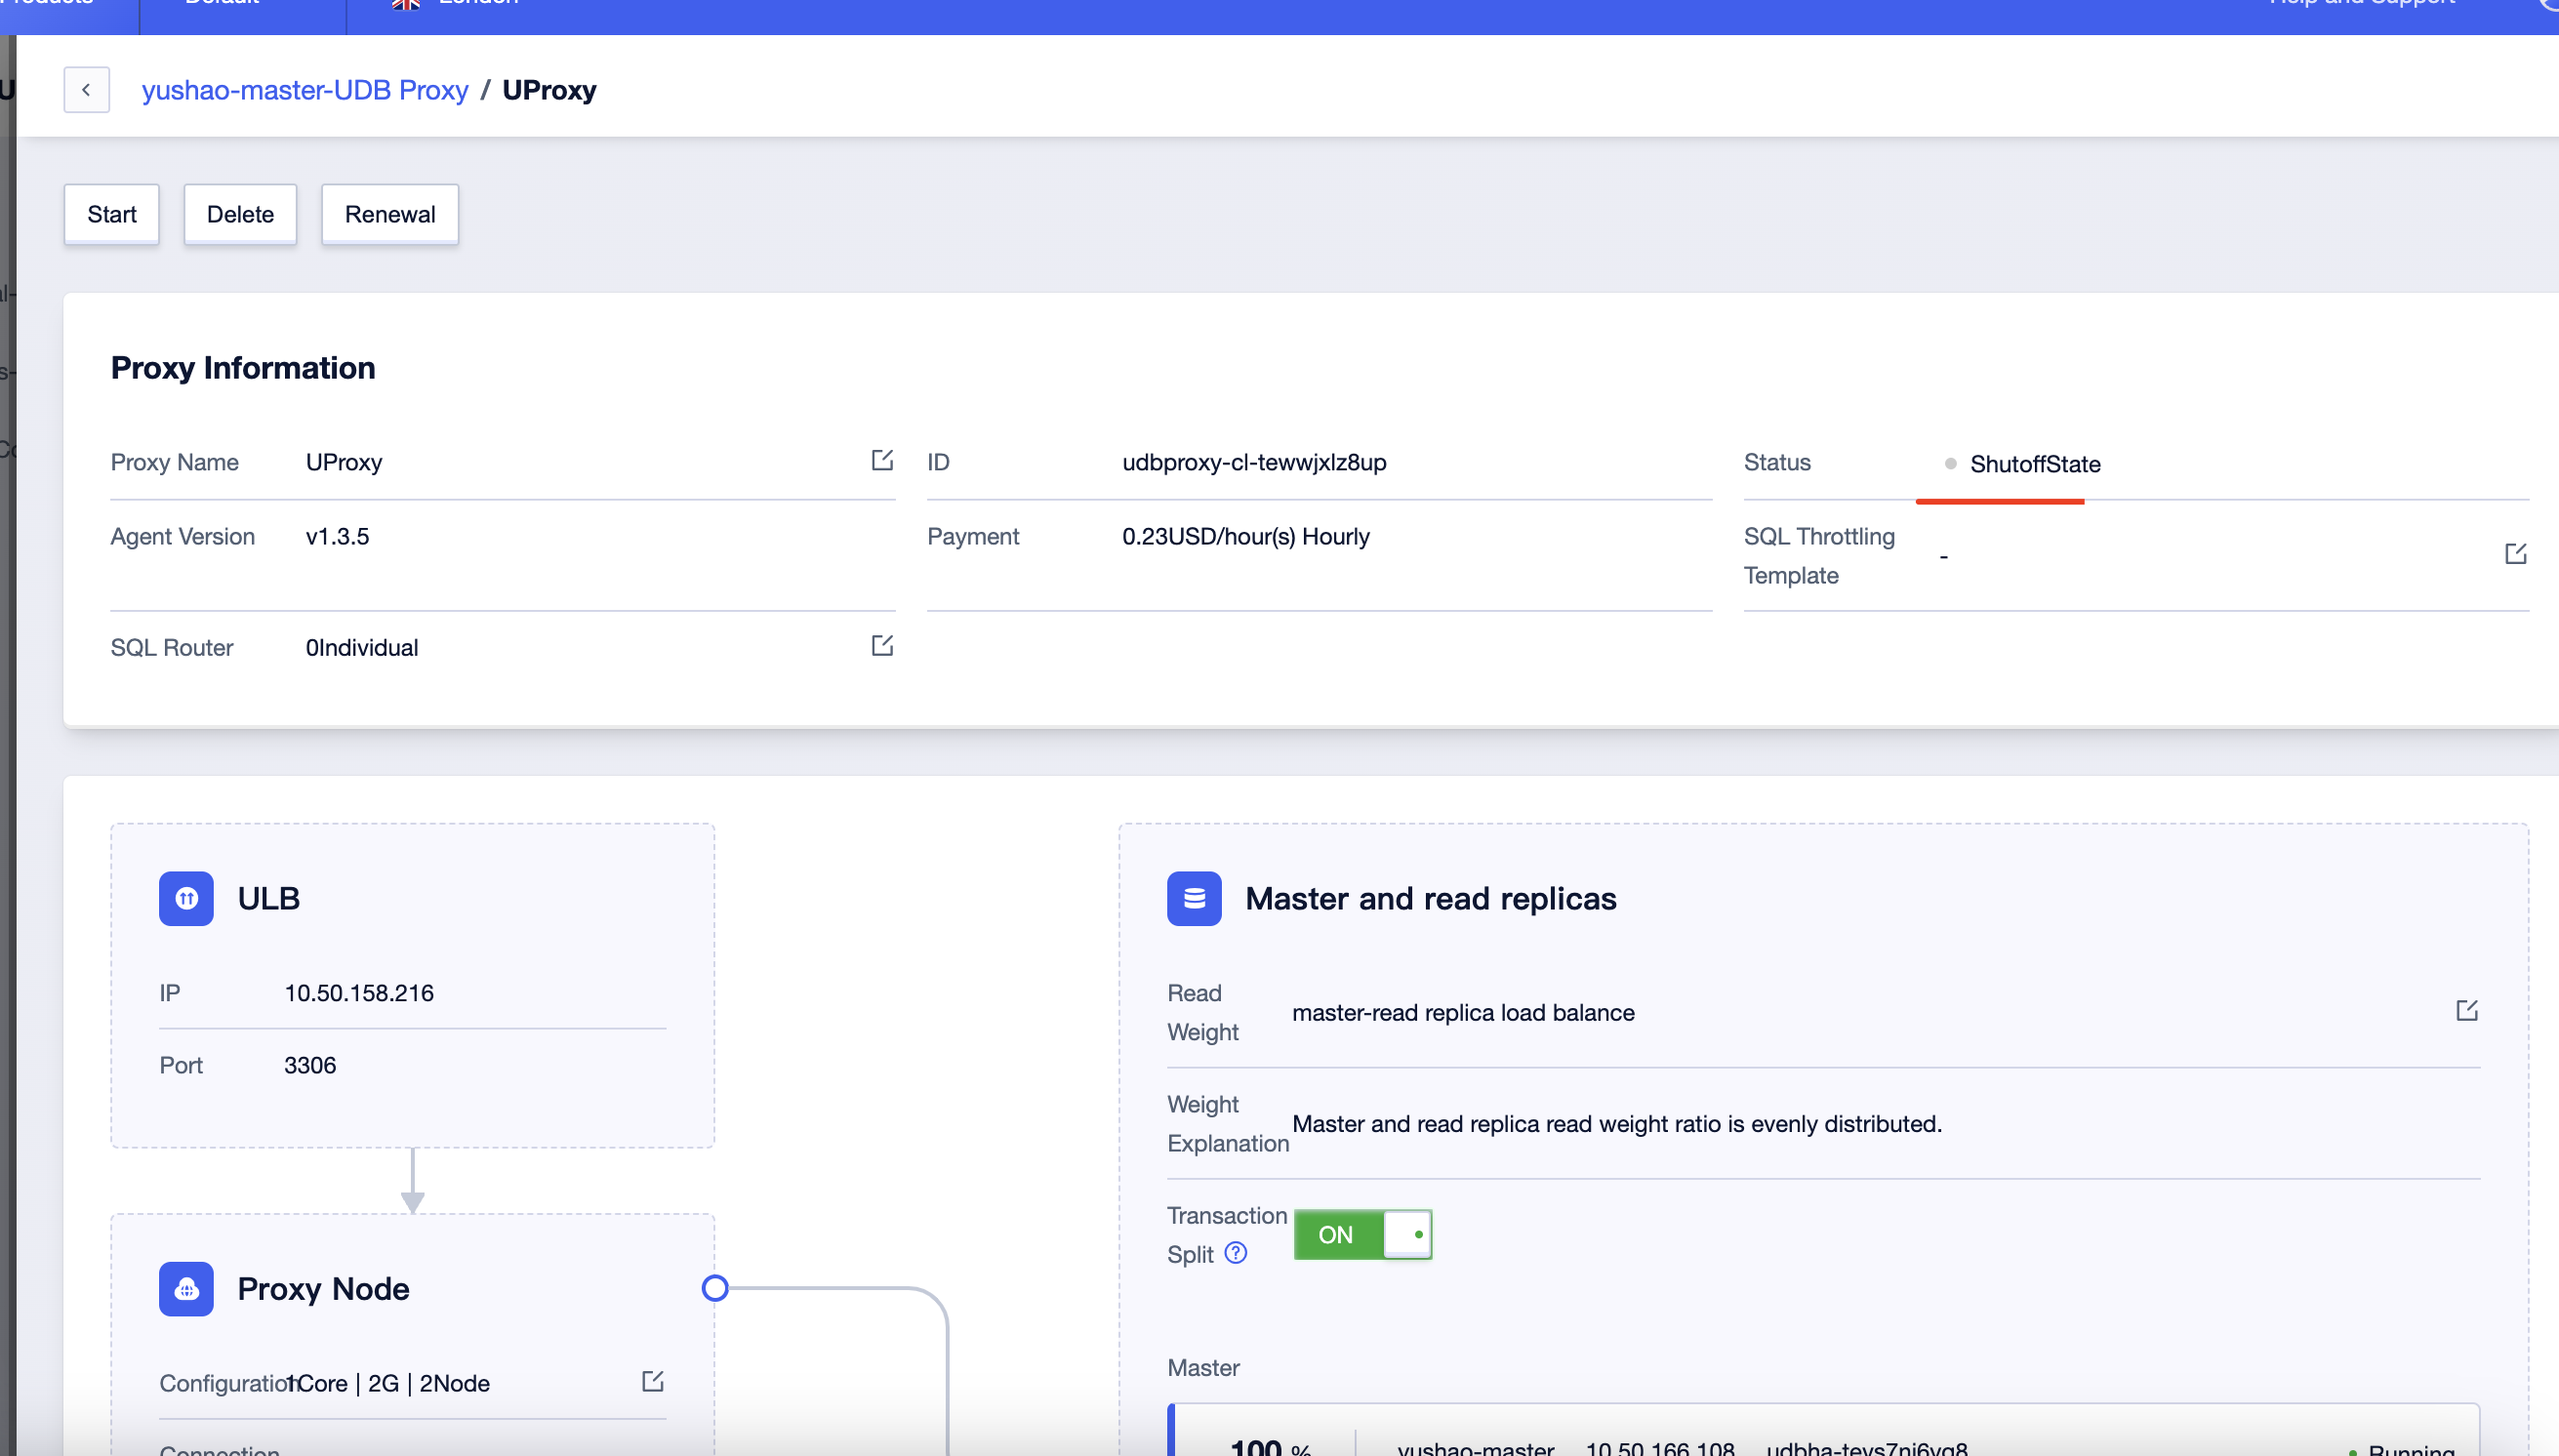
If you do not select the 'Whether to completely delete the service' radio button, return to the proxy details page. At this point, the proxy status will be 'Closed,' and you can perform actions such as starting, deleting, or renewing.
When you select the 'Whether to completely delete the service' radio button, the proxy status will change to 'Deleting.' After a period of time, the database proxy will return to a non-active state.
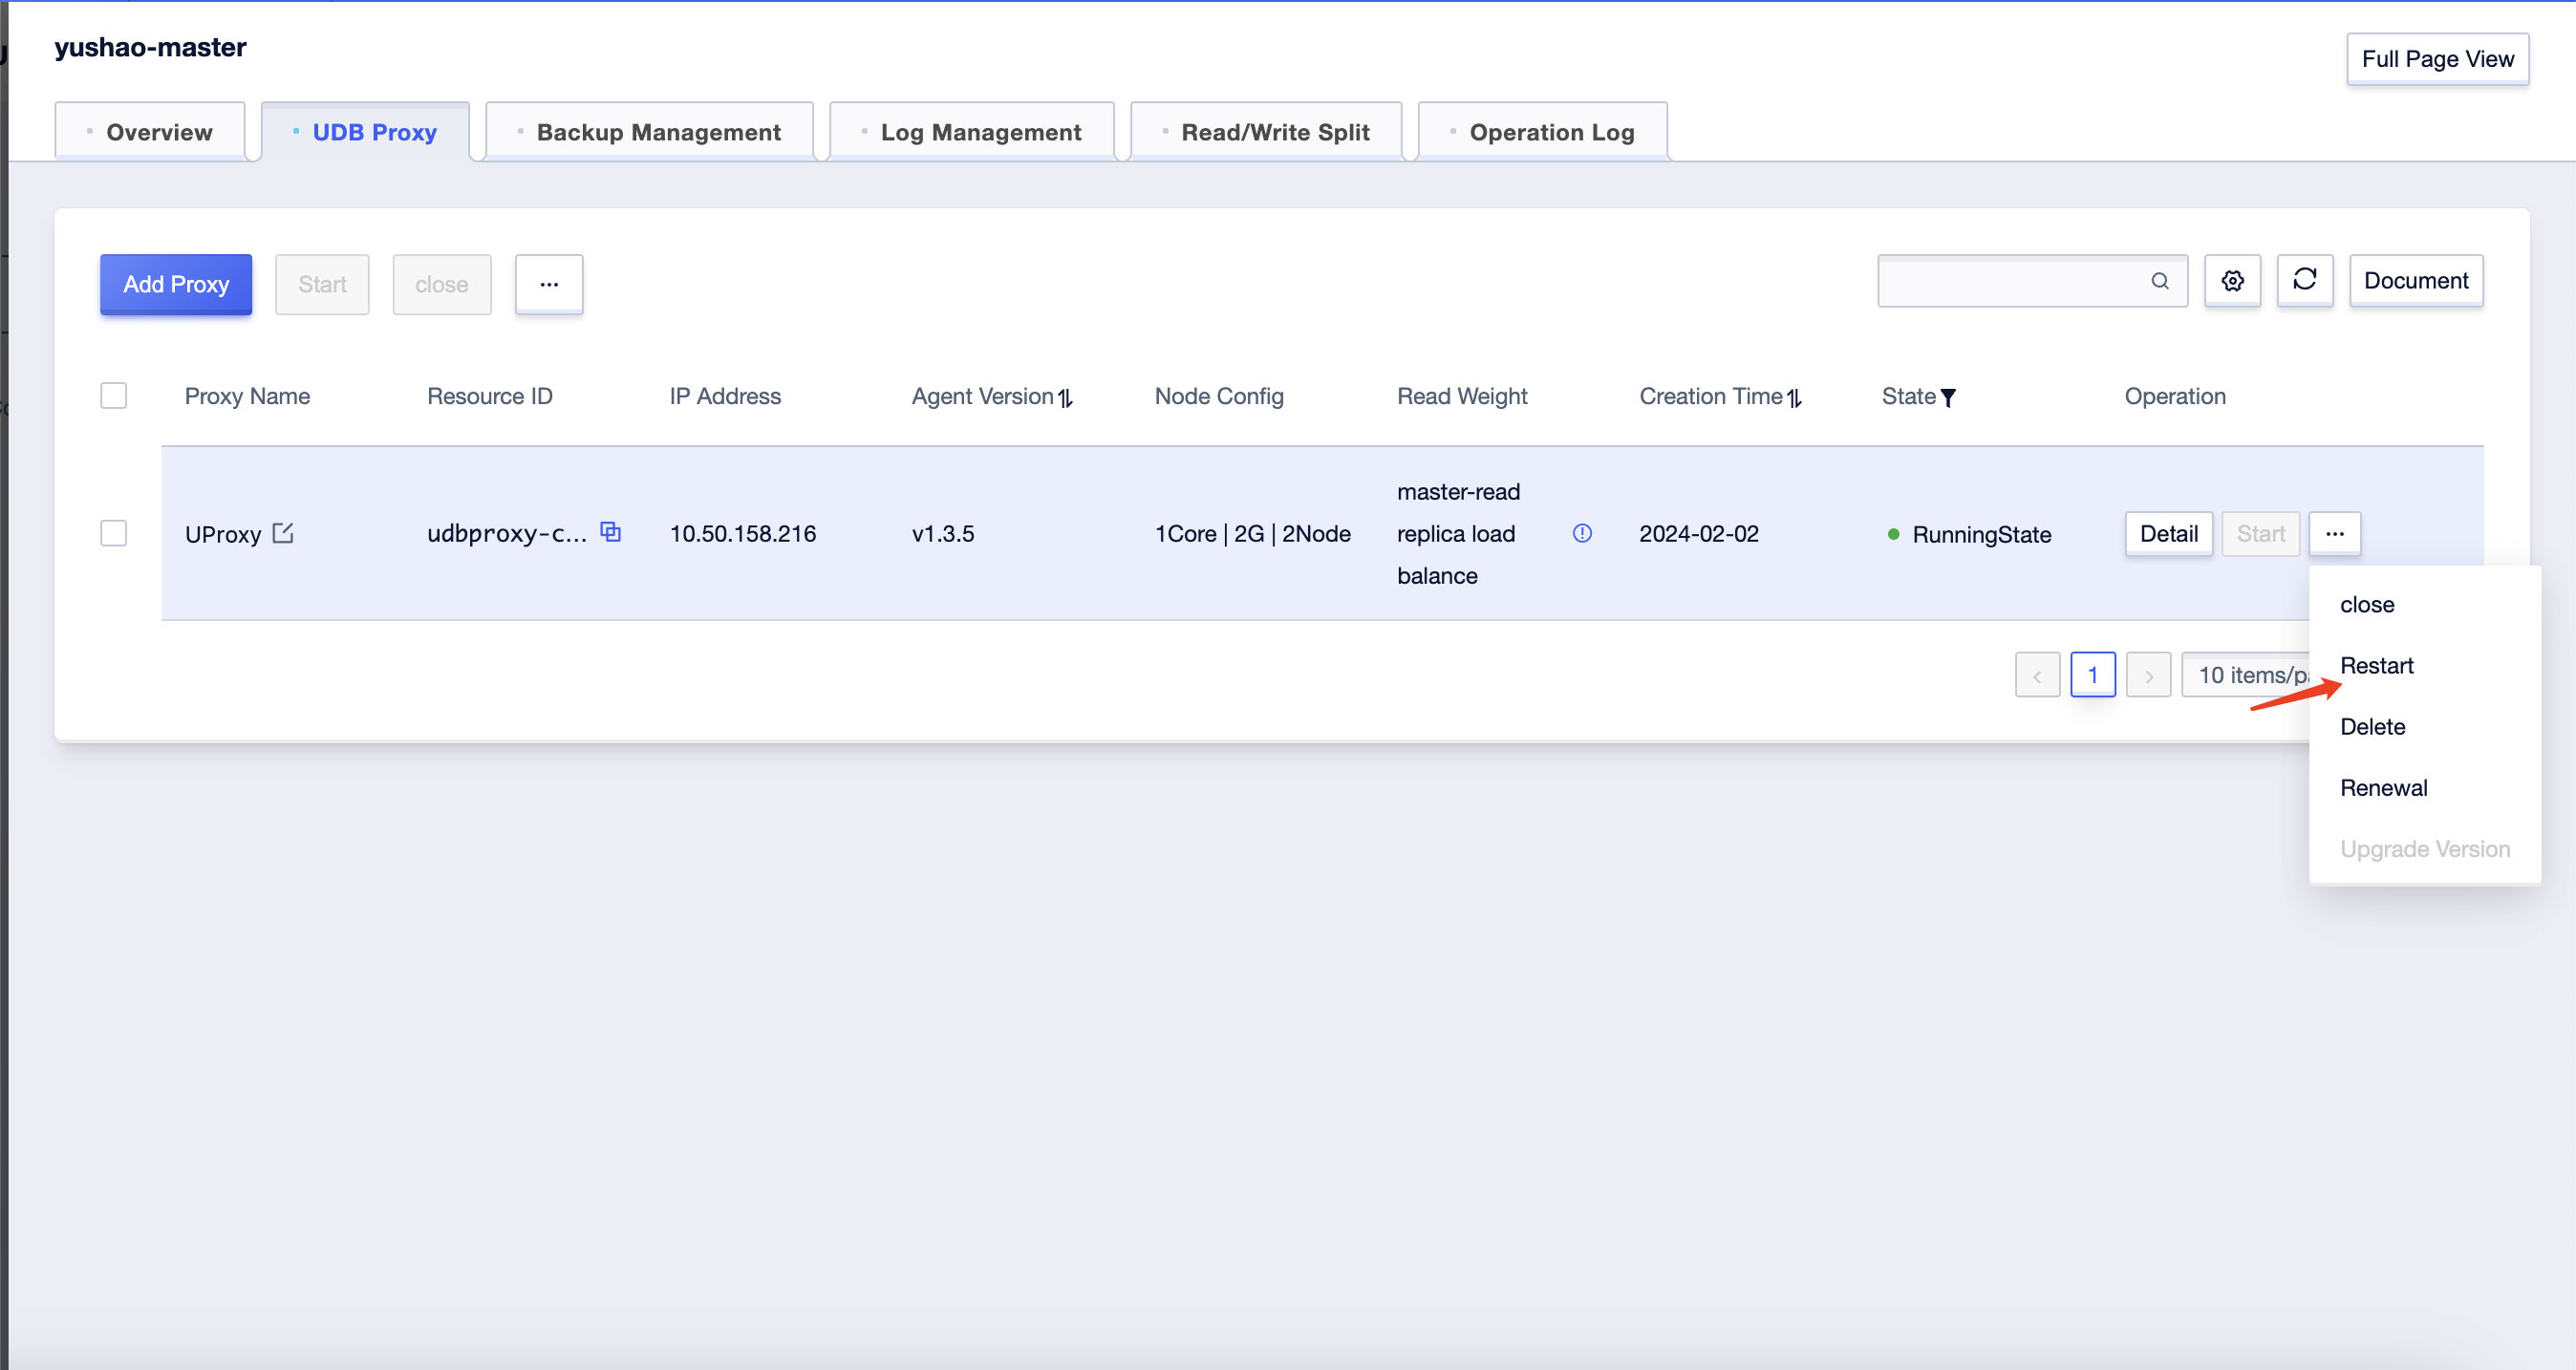
Restart the database proxy
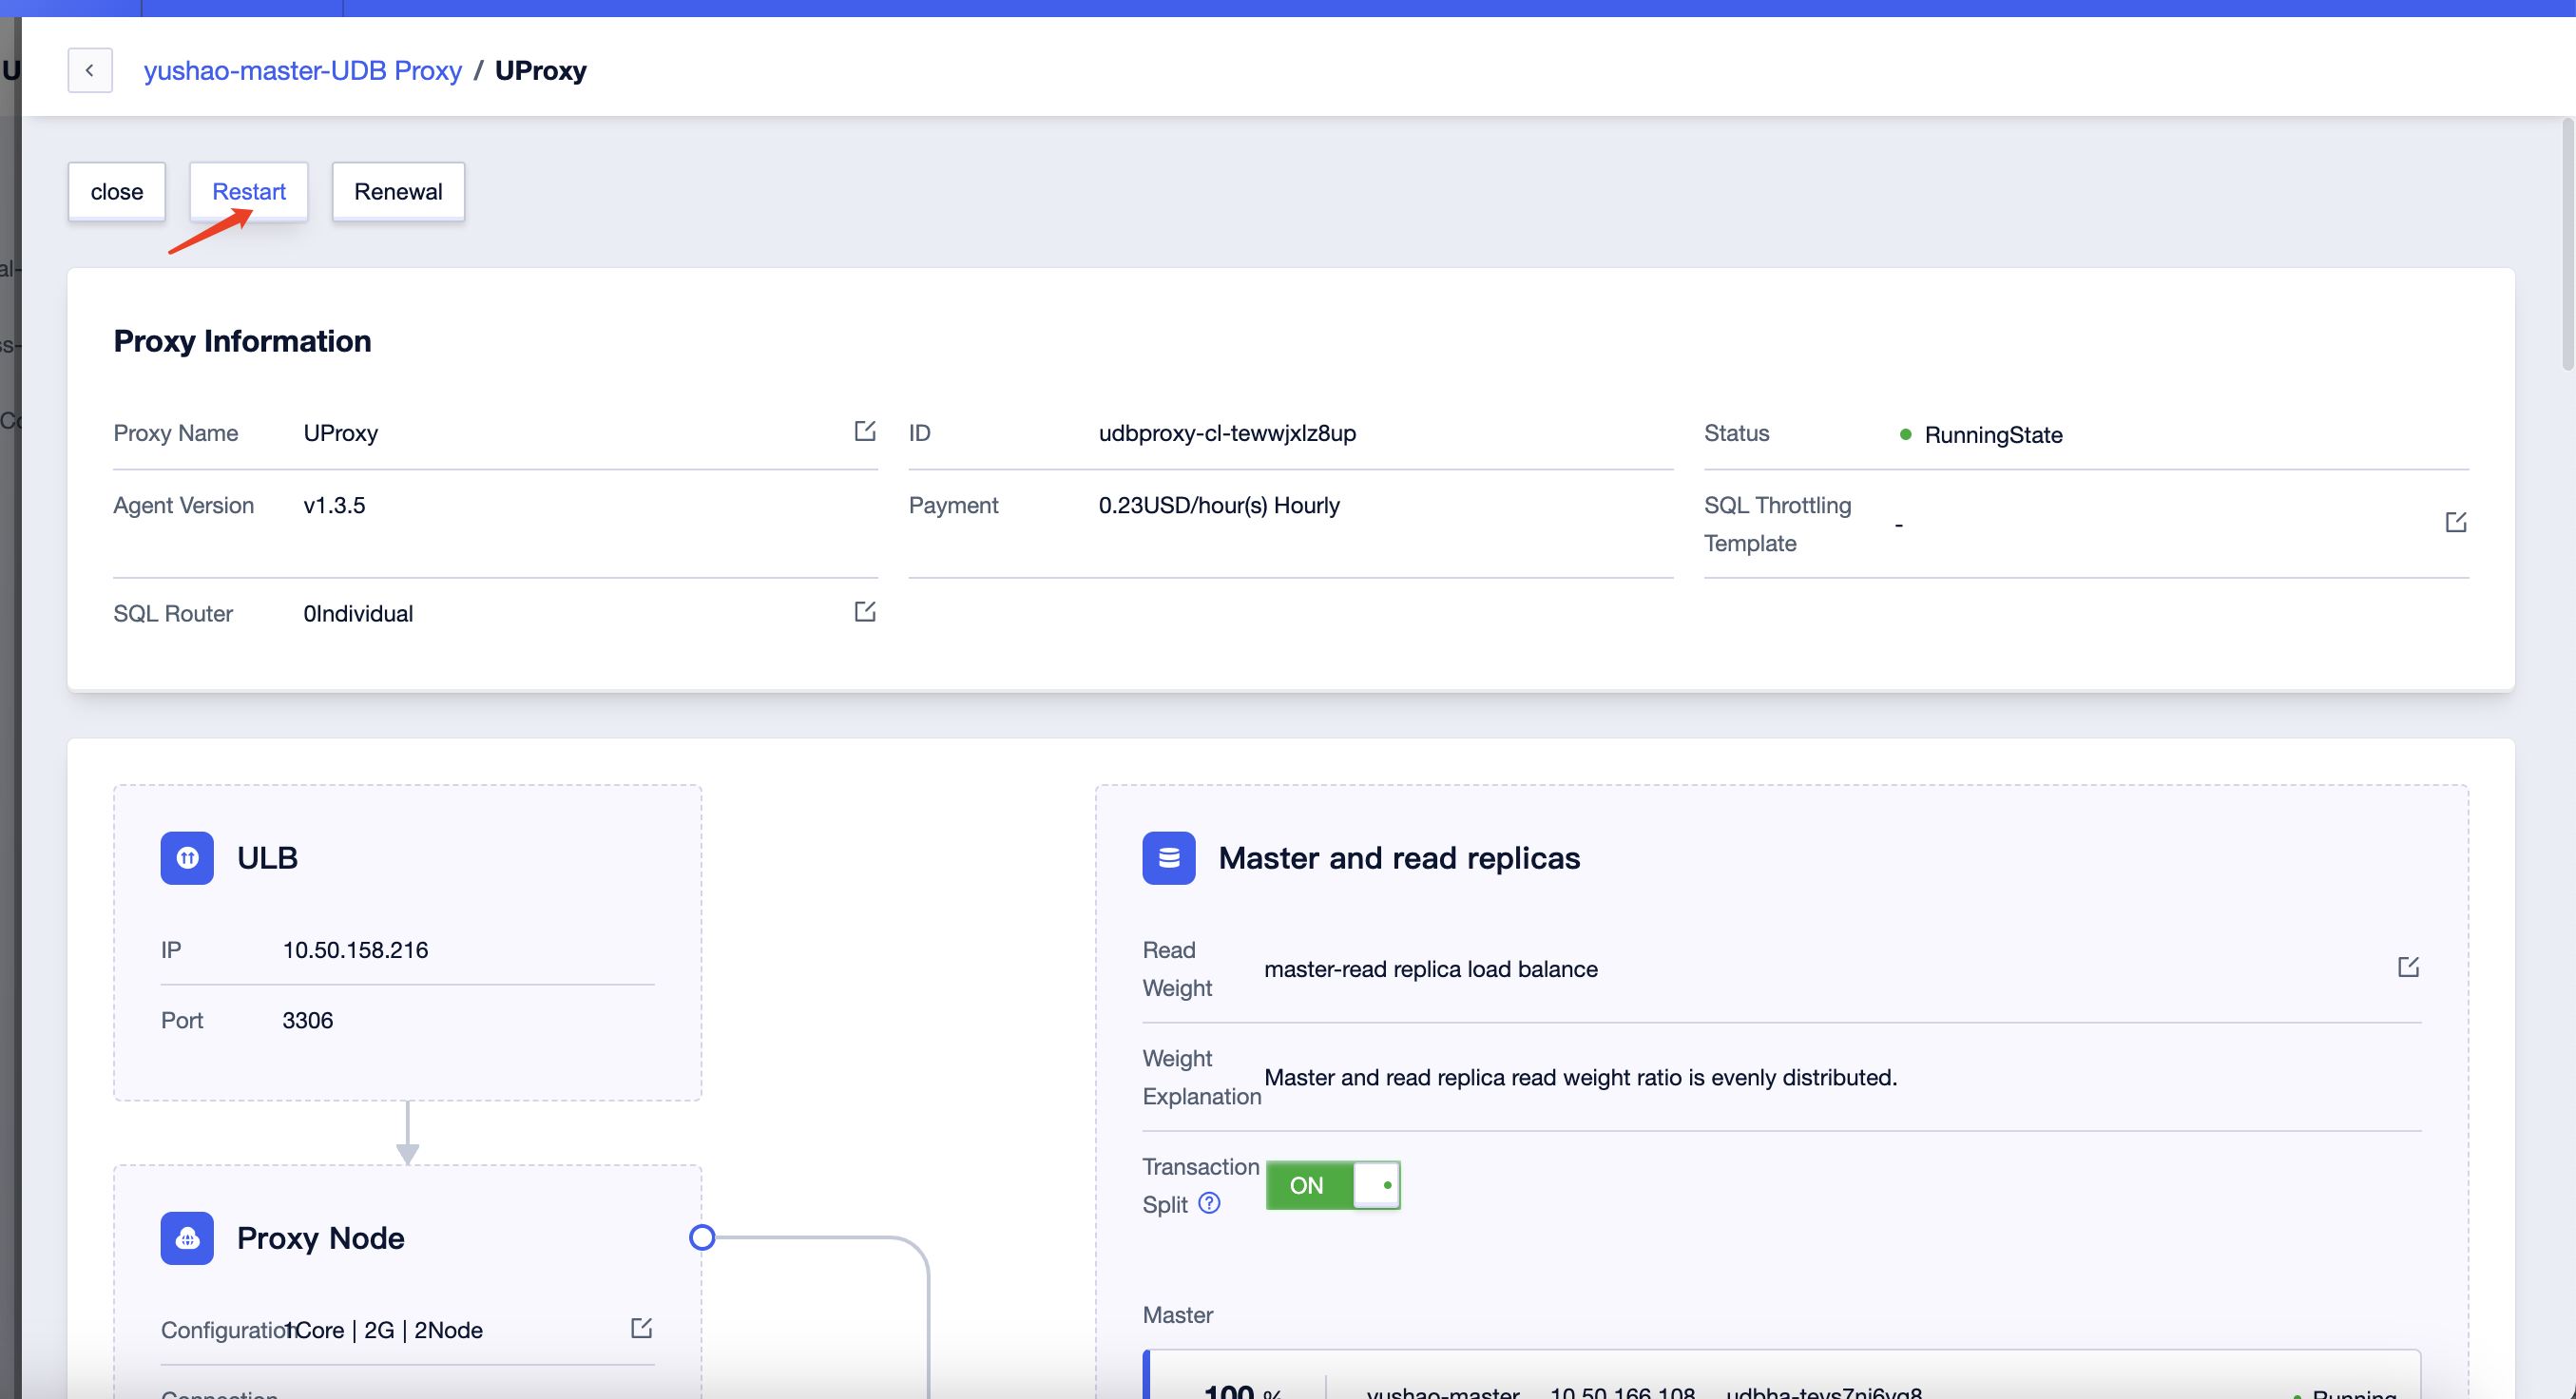
Click on 'Details' for the proxy to enter the details page, and you will find the 'Restart' button in the upper-left corner. Clicking on it will restart the database proxy.
Delete the database proxy
Delete while closing
Click on 'Details' for the proxy to enter the details page. When closing the database proxy, check the 'Whether to completely delete the service' checkbox. Then, click 'Confirm.' The database proxy will be deleted, and after a period of time, it will return to a non-active state.
Delete after closing
Click on 'Details' for the proxy to enter the details page. If you do not check the checkbox when closing the database proxy, a 'Delete' button will appear in the upper-left corner after closing. Clicking the 'Delete' button will result in the database proxy being deleted, and after a period of time, it will return to a non-active state.